
[ Manual E2 – How to Replace the Endstop – V1.0 ]
①2mm hex wrench
1.Power off the printer.
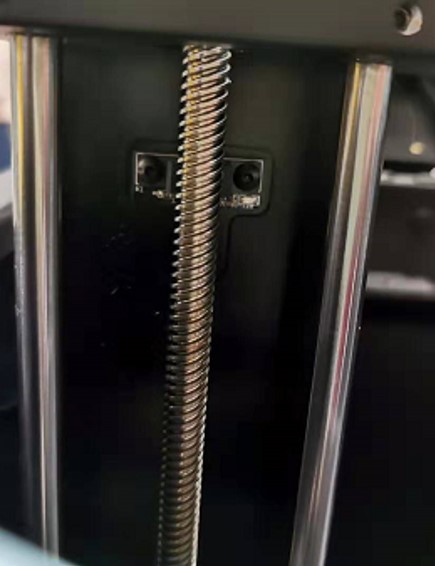
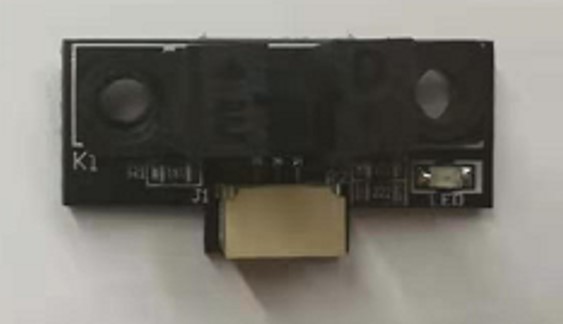
2.Locate the position of the endstop you would like to replace.
Note: We take the Z-axis as an example in this tutorial. The X/Y axes require the same steps.
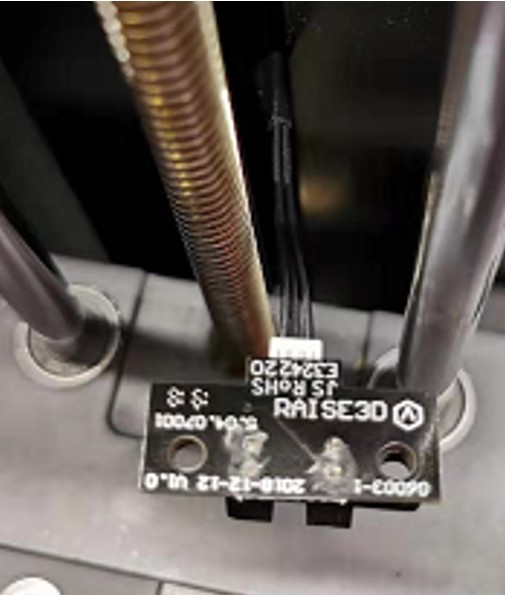
3.Use a 2mm hex wrench to remove the two screws retaining the sensor to the frame.
Note: Keep in mind the orientation of the endstop.
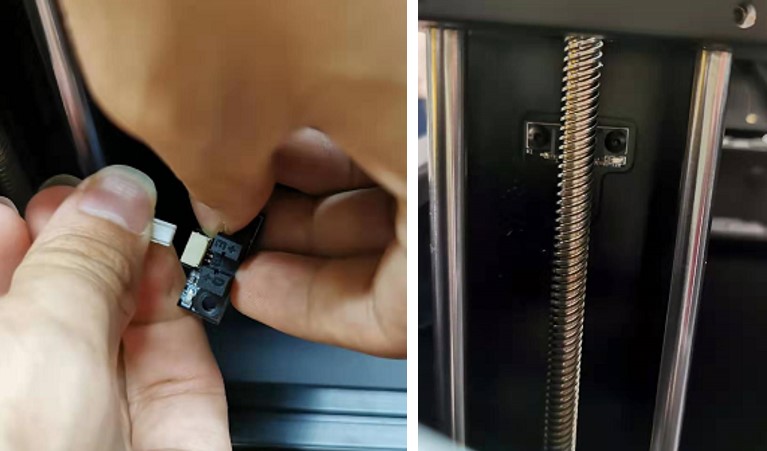
4.Gently remove the connector from the endstop.
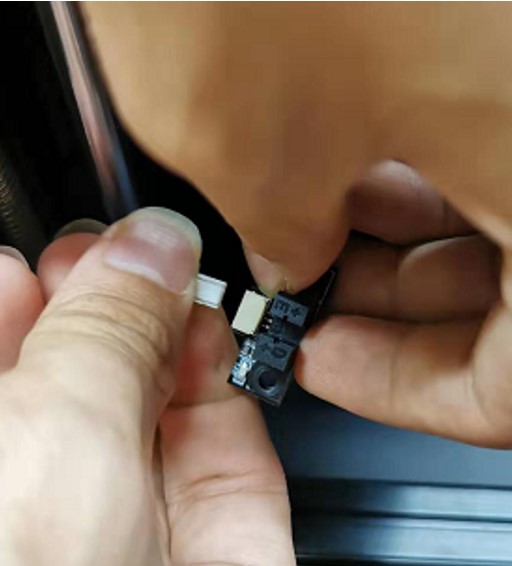
5.Prepare a new endstop. Orient the connector in the proper direction.
6.Plug the cable into the new endstop.
7.Reinstall the two retaining screws with a 2mm hex wrench.
[ Manual E2 – How to Replace the Endstop – V1.0 ]
-END-
