
Note: The steps of replacing both sides of the extruder front cooling fans are similar. Here is an example of the left extruder front cooling fan replacement.
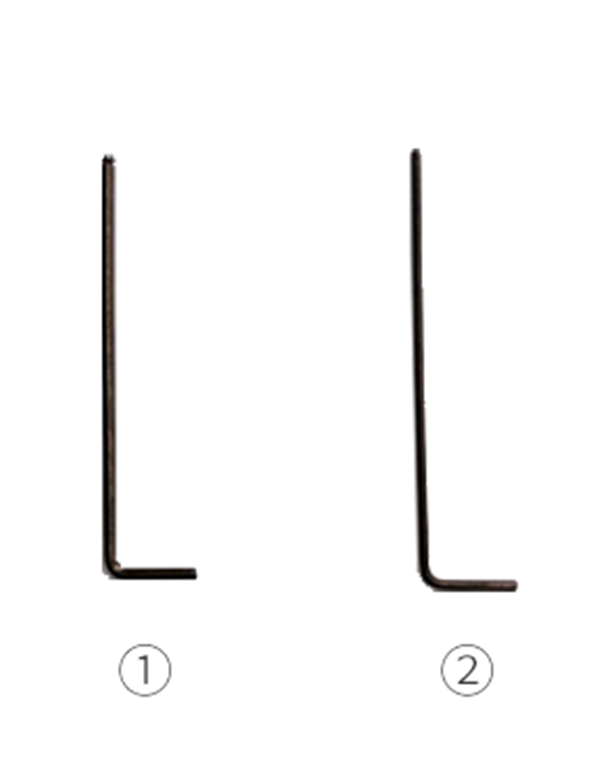
Tools:
①2mm hex wrench
②1.5mm hex wrench
1.Power off the printer.
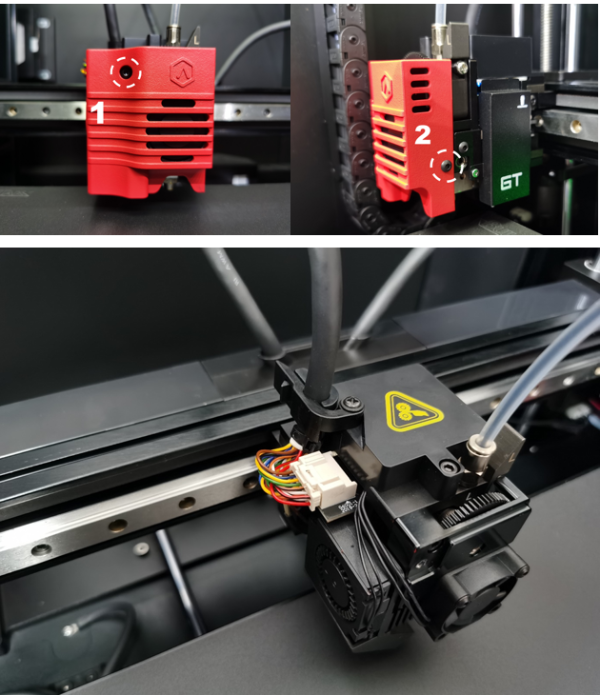
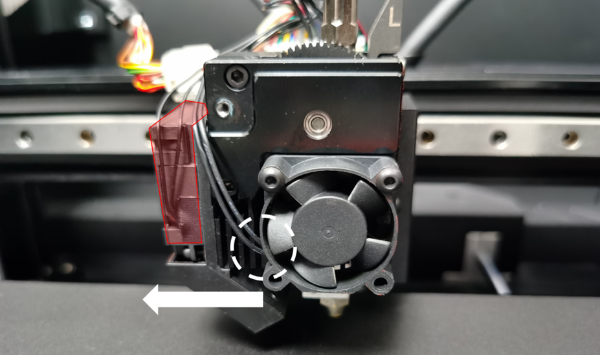
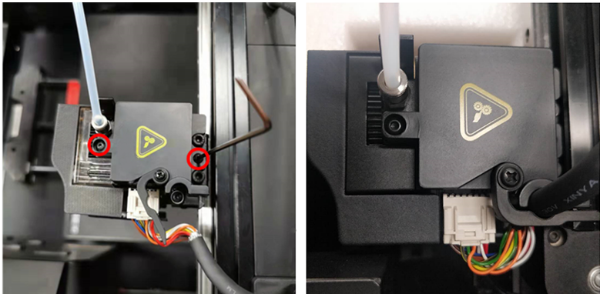
2.Use a 2mm hex wrench to loosen and remove the two screws securing the extruder cover, as shown (marked in red) in the pictures below.
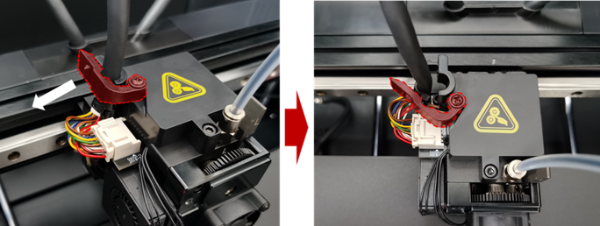
3.Release the buckle securing the ribbon cable by pinching the latch and opening the lever.
4.Use a 2mm hex wrench to loosen and remove the two screws securing the extruder connection board cover.
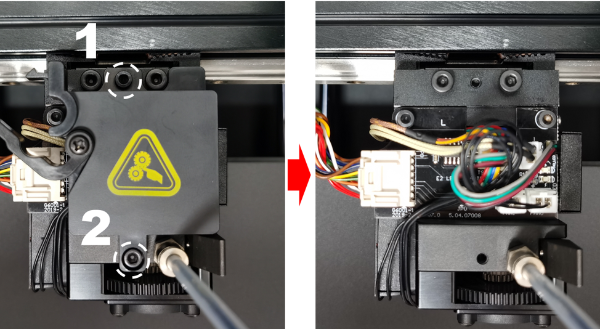
5.Remove the fan plug from the slot marked in white as shown in the picture below.
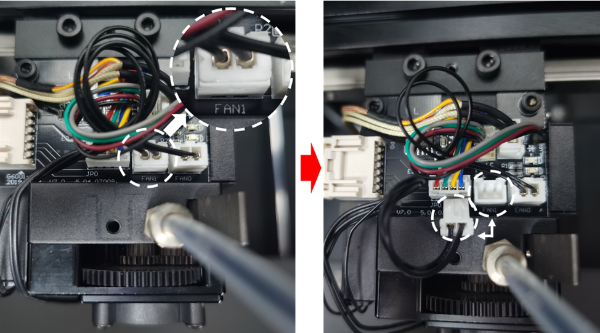
Note: If the connector is difficult to unplug, you can use a small pair of tweezers to gently wiggle the connector out of the slot.
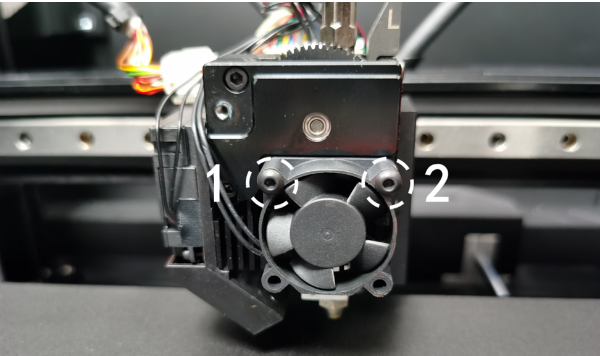
6.Use a 1.5mm hex wrench to loosen and remove the two screws securing the fan to the print head. At this step, you should be able to completely remove the fan from the machine.
1.Install the new fan with orientation to side fan.
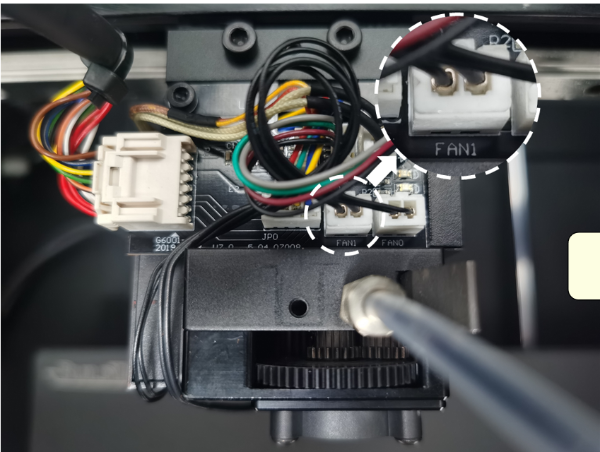
2.Reconnect the fan cable to the terminal slot marked FAN1.
3.Sequentially reinstall extruder connection board cover, close the buckle, and reinstall extruder cover to print head.
[ E2CF – How to Replace the Extruder Model Cooling Fans – V1.0 ]
- END-
