
Procedure:
Disclaimer: Raise3D is not liable for damages on substrate item.
1.Select the object you want to print on.
·Select an object with a flat surface as substrate printing cannot be done on an inclined or curved surface.
·Ensure the material of the substrate surface does not have a smooth coating.
·Ensure the substrate surface is clean before printing.
·Ensure the substrate dimensions are smaller than the E3’s maximum print volume (295 x 240 x 240 mm).
If the object has a hollow structure beneath the surface, it is recommended to design a base in advance to secure the object.
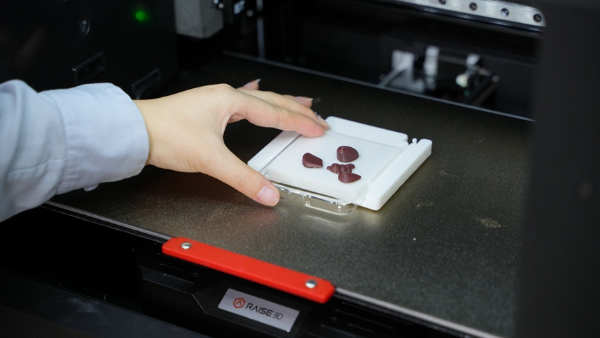
*An image of a phone case with base shown above.
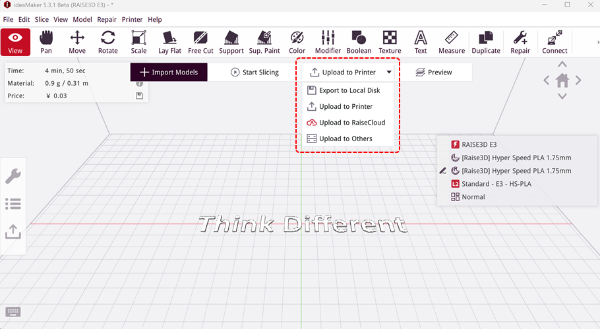
2.Slice the print file, flat on the bed using ideaMaker.
Slice the model → Save as G-code file → Select printer → Import G-code file
Note: Supports cannot be used with substrate printing as they will fuse to the object’s surface.
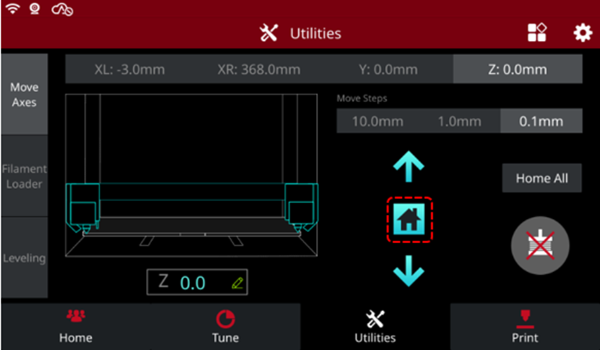
3.In the Utilities tab, tap  to Home All. The bed will need to be clear of debris or any other objects.
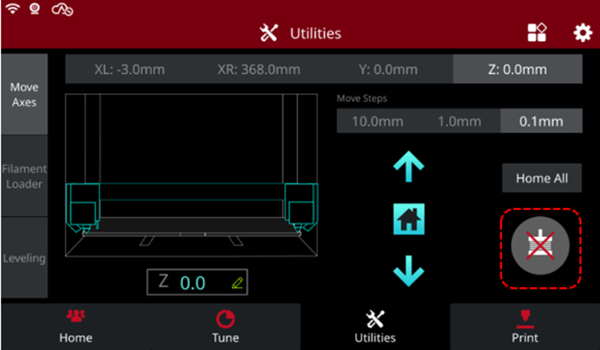
4.Tap  to disable the printer’s stepper motors, then extend the build plate toward the front of the printer to place substrate item.
Note: The substrate item's position on the build plate must be aligned to the model position in ideaMaker in order to avoid print misalignment.
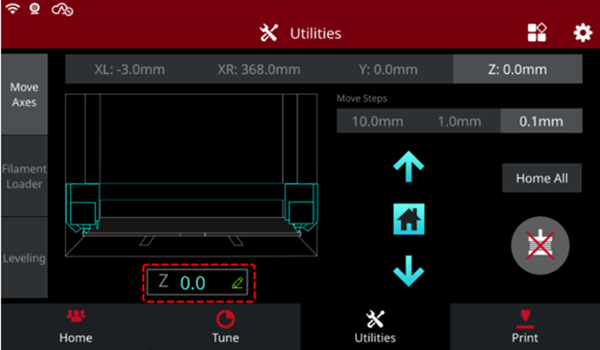
5. In the "Parameters" interface, adjust the Z-axis value to 240 for clearance.
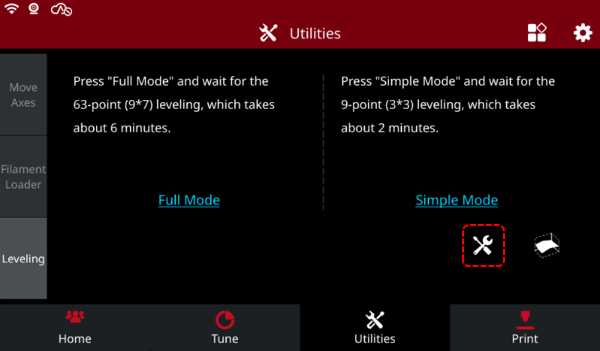
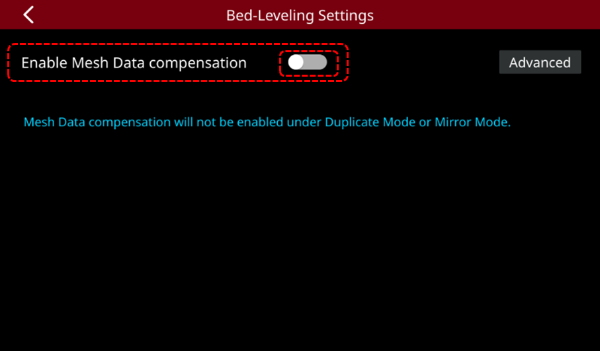
6. In the "Leveling" interface, select  and turn off the "Enable mesh Data Compensation" option.
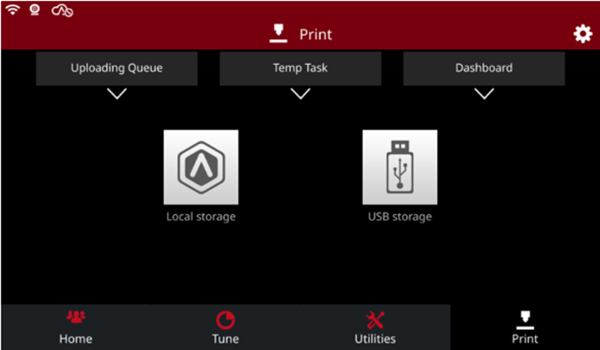
7. Start printing.

Note:
1.Please select a filament with a bed temperature below 80°C, high temperatures can damage the substrate object. We recommend using a lower temperature material such as PLA, TPU-95A, or PLA Pro filament.
2.Consider the model's placement based on where your substrate item will be placed on the bed.
3.When printing on a substrate:
•For rough surfaces, it can be printed without glue.
•For smooth surfaces, apply some PEP glue before printing.
