
Tools and Components:
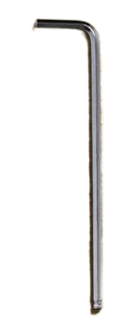
① 3 mm hex wrench
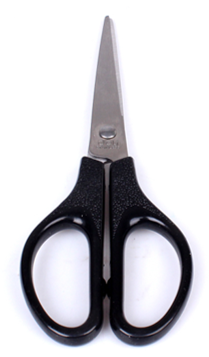
② Scissors
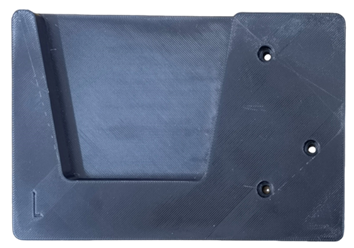
③ 2.5 kg left shaft sleeve holder (with an “L” marked in the lower left corner)
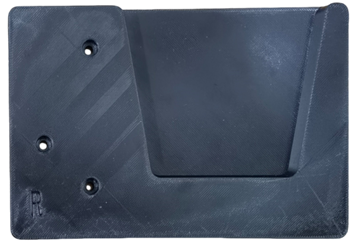
④ 2.5 kg right shaft sleeve holder (with an “R” marked in the lower left corner)
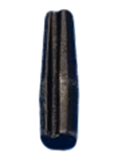
⑤ Sealing plug
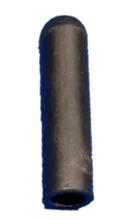
Sealing cover
A. Install the 2.5 Kg Left and Right Shaft Sleeve Holders
1. Use a 3 mm hex wrench to remove the 8 screws on the left and right shaft sleeve holders currently installed. (There are 4 screws on each holder.) Remove the two holders once the screws have been undone.
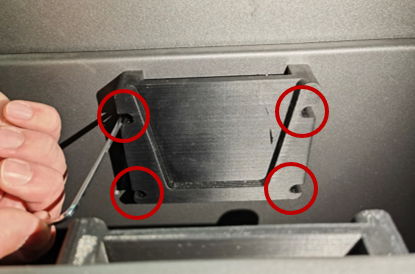
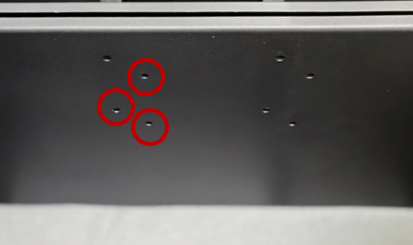
2. Carefully bring the new 2.5 kg left shaft sleeve holder into the position of the original holder, and align the 3 screw holes of the holder with those of the cartridge inside the machine. From the 8 screws removed in the previous step, set aside 3 to use now. Use a 3 mm hex wrench to fasten the 3 screws, starting from top to bottom.


3. Set aside another 3 screws to affix the new right shaft sleeve holder. The mounting procedure is identical to the 2.5 kg left shaft sleeve holder; align and fasten the 3 screws on the 2.5 kg right shaft sleeve holder. The installation of the two shaft sleeve holders is complete.
B. Unpack the Filament Bag
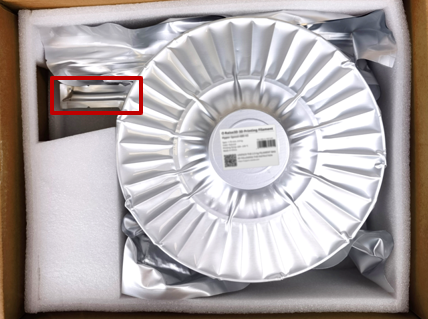
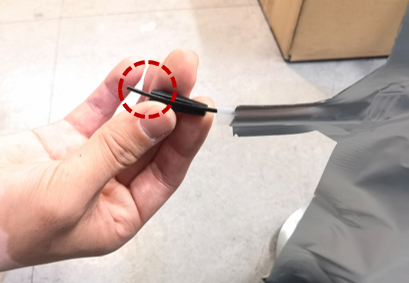
1. Remove the filament bag from the box.
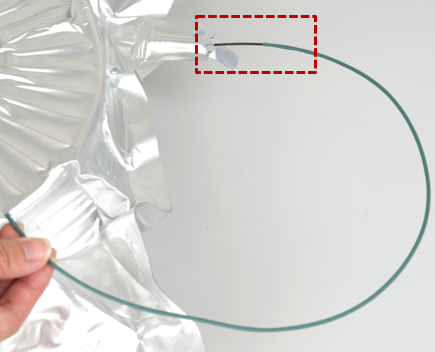
Note: Do not remove the contents of the package by pulling on the filament extension tube (as shown in the red box in the following figure), and do not twist the filament extension tube during use to prevent it from breaking.
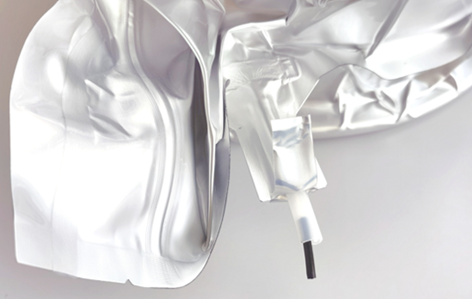
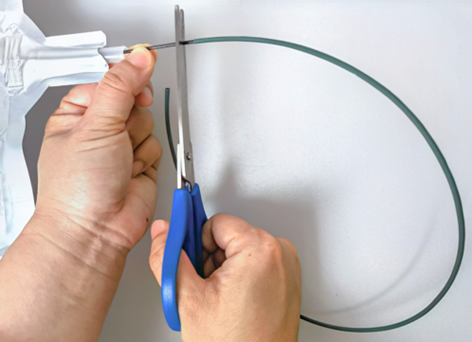
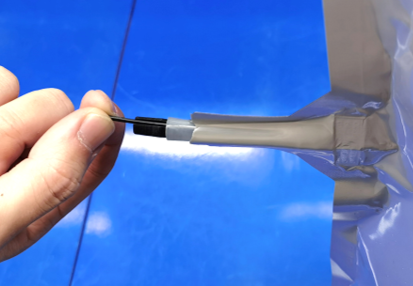
2. As shown in the pictures below,use scissors to cut the aluminum foil bag alongside the filament.


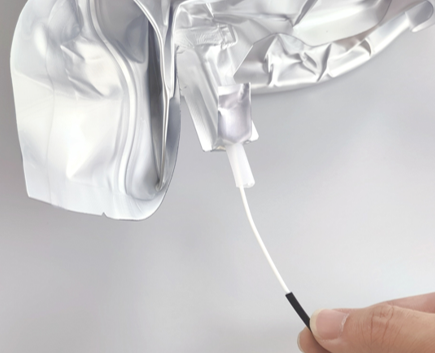
3. Gently pull out the filament.
Note: Pull the filament out further to prevent it from retracting back into the extension tube when handling the filament bag. If it is the fiber reinforced filament, such as Hyper Core ABS CF15 Filament or Industrial PET CF Filament, it is necessary to pull out all the filament covered with green heat shrink tubing out of the filament bag (as shown in the red box in the right figure).
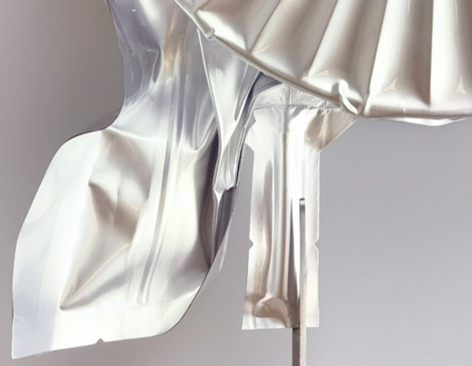
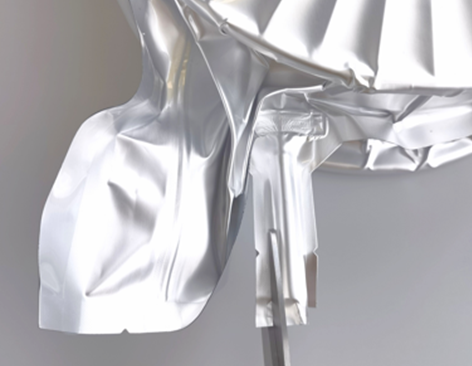
4. As shown in the picture below, gently stretch the filament bag around the edges to make it spread out as much as possible. This will help the filament load smoothly.
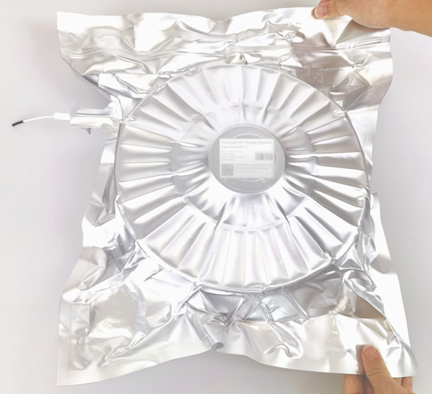
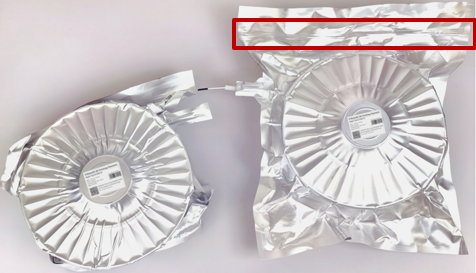
5. As shown in the comparison below, the prepared filament bag is flatter than it was before being stretched.
Note: The part marked in red is the self-sealing filament repair point. Please do not unseal it unless necessary, to prevent the filament from getting damp and affecting its printing properties. If the filament breaks or gains a knot, you can unseal this repair point to adjust the filament inside as necessary.
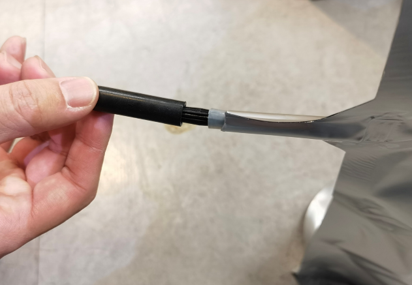
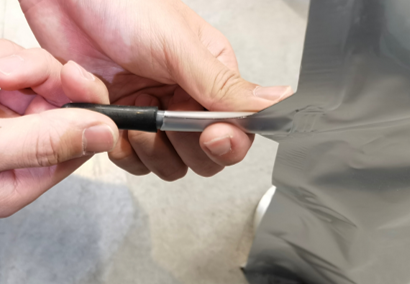
6. Use scissors to cut all the parts of the filament covered with black silicone tubing (as shown in the left figure) or green heat shrink tubing (as shown in the right figure). Unpacking the filament bag is complete.

Important:
• Please install the unpacked filament bags into the RMF500 cartridge for immediate use. It is highly recommended to ensure that hygroscopic filament remains dry for optimal printing performance.
• Before printing, please inspect the filament bag for any damage. If it is damaged, please replace it promptly.
C. Put the Filament Bag into the Filament Cartridge of the RMF500 Printer
1. Open the filament cartridge of the RMF500 printer, place the filament bag inside, and place the polyethylene rings on both sides of the filament bag on the 2.5kg left and right shaft sleeve holders.

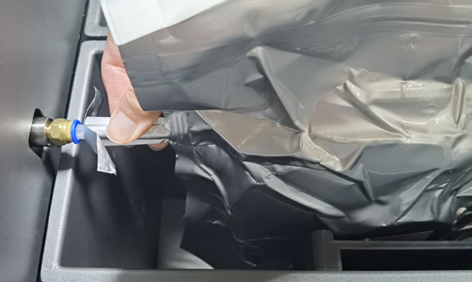
2. Gently pull out the filament from the filament extension tube, and insert it into the filament loading port.
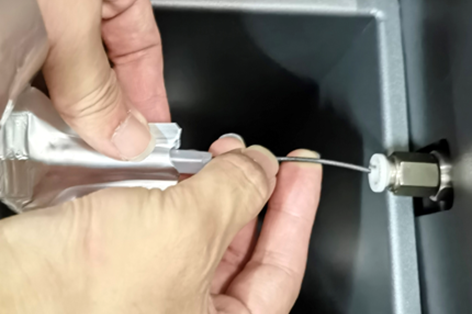
3. Insert the filament extension tube into the filament loading port. The filament preparation is finished and ready to print.
Important: During printing, please avoid unsealing the filament bag to prevent the filament inside from getting damp or contaminated with impurities, which may adversely affect the printing quality. If unsealing the filament bag is unavoidable, please seal it back up again as soon as possible after unsealing it.
D. Seal and Store the Filament Bag
If the filament bag is removed from the cartridge, the bag must be properly sealed and stored for future use.
1. Take out the filament bag from the RMF500 cartridge.
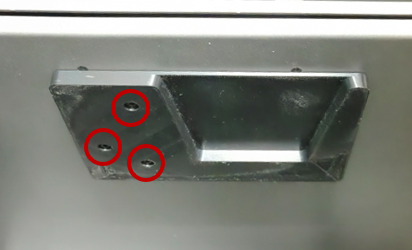
2. As shown below, insert a short length of protruding filament, from the extension tube, into the groove of the sealing plug. Then, gently and firmly push it into the extension tube to secure it.
Note: The exposed length of filament beyond the sealing plug (as shown in the red circle in the following figure) should not be excessively long, in order to avoid affecting the later use of the sealing cover.
3. Gently pull the end of the filament outwards to ensure that it may not recede into the sealing plug and extension tube.
4. Finally, enshroud the sealing plug with a sealing cover, and ensure that a short length of extension tube is captured within the sealing cover. The sealing of the filament bag is complete.
-END-
