
[ Manual N1 - How to Replace the Touchscreen - V1.0 ]
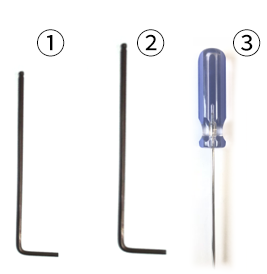
① 2.5mm hex wrench
② 3mm hex wrench
③ flat head screw driver
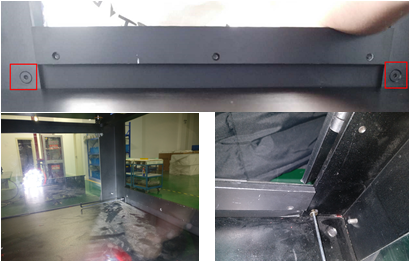
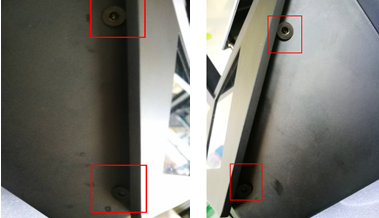
1. Power off and unscrew the two countersunk head screws with 2.5mm wrench which inside the printer.
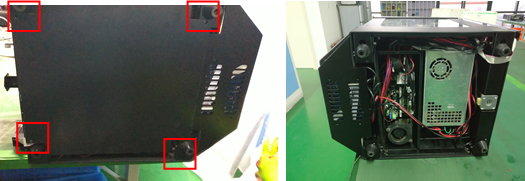
2. Lay the machine down on side (place the side door up) and use a 3mm wrench to remove 4 screws on the bottom cover.
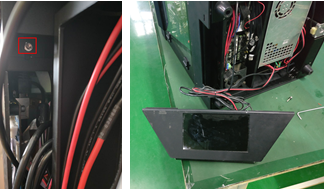
3. Use a 3mm wrench to remove two socket cap screws M4x20 on the touchscreen.
4. Use a 2.5mm wrench to remove the four countersunk head screws on the touchscreen cover.
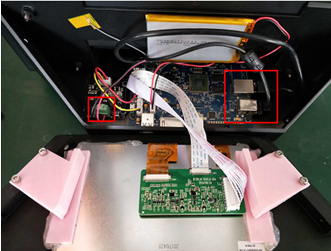
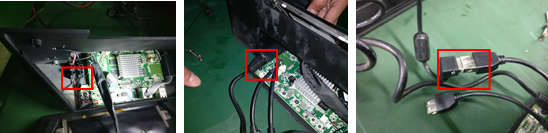
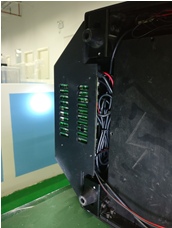
5. Open the touchscreen cover and uninstall the 24V touchscreen power cable, USB cable and Ethernet cable.Shown as the following pictures:
6. Take out the new touchscreen and use a 2.5mm wrench to remove the four countersunk head screws on the touchscreen cover. Refer to step 4.
7. Use a flat screw driver to install the 24V power cable into the terminal and tighten the screws. Insert the Ethernet cable and the USB cable.
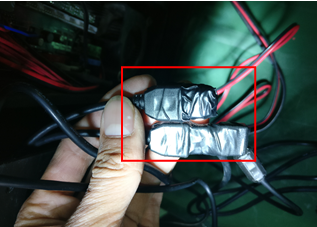
8.Wrap the two USB connectors with insulating tape.
9. Use a 2.5mm wrench to tighten the four countersunk head screws on the touchscreen cover. Refer to step 4.
10. Use 3mm wrench to install two socket cap screws M4x20 on the touchscreen. Refer to step 3.
11. Tidy the cables and put them into the printer
12.Install the bottom cover, refer to the step 2.
13.Tighten the two inside screws, refer to step 1.
[ Manual N1 - How to Replace the Touchscreen - V1.0 ]
-END-
