


- Applications
- Support
- Support Center
- Download
Inquiry@raise3d.com
+1 888 963 9028
© 2019. All Rights Reserved. Raise 3D Technologies, Inc.

[ Manual N2&N2 Plus - Belt Adjustment - V1.0 ]
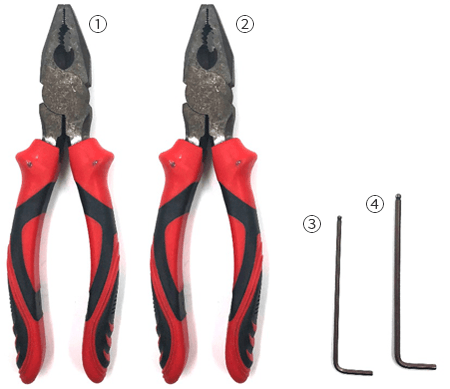
*Two persons needed
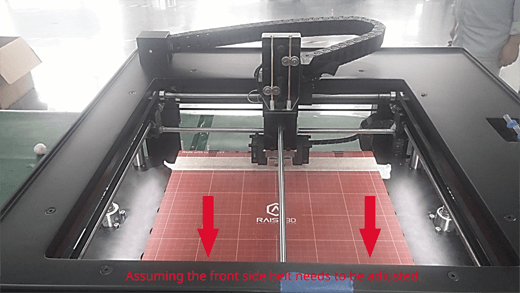
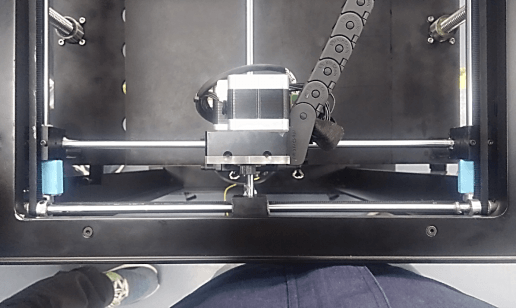
1. Move the print head to the opposite side to the belt you need adjust.
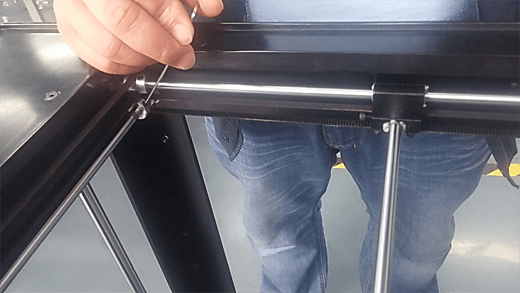
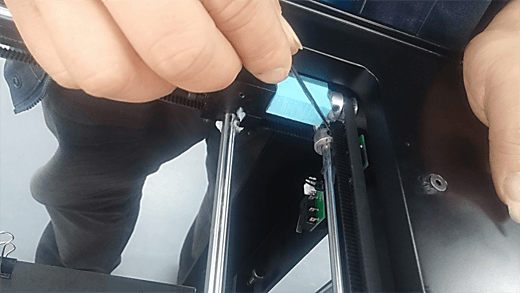
2. Use a 2mm hex wrench to loosen the M3 grub screws on the pulleys. They are located at the ends of the belt. Each railing has two grub screws. 4 in total.
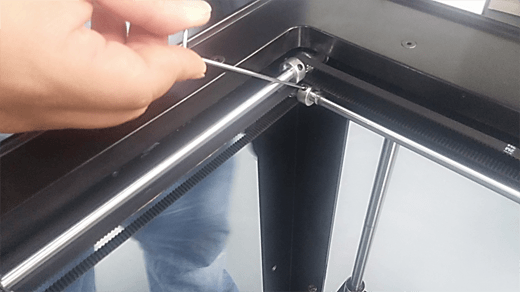
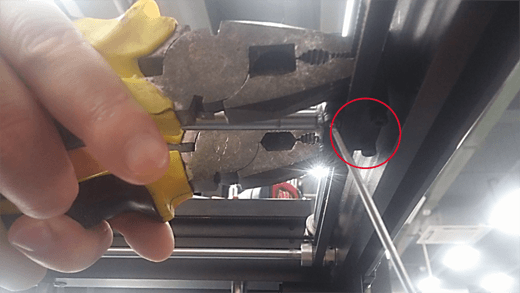
3. Use a 2.5mm hex wrench to loosen the four M3 cylinder head screws marked in the photo below. These are the screws which affix the block to the belt.
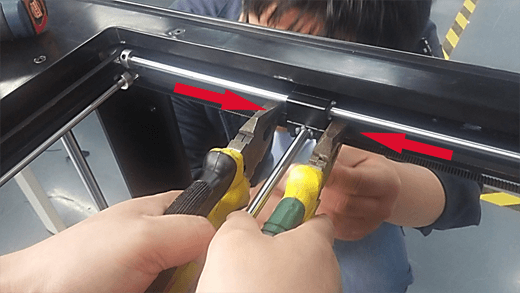
4. Have one person use both pairs of pliers to hold the two ends of the belt. Have them insert the ends into the block as shown in the following picture. Make sure that the teeth on belt are matched with the teeth on block.
If the belt is too long and overlaps inside the block, you can cut off the excess.
Have the second person tighten the four M3 screws with hex wrench.
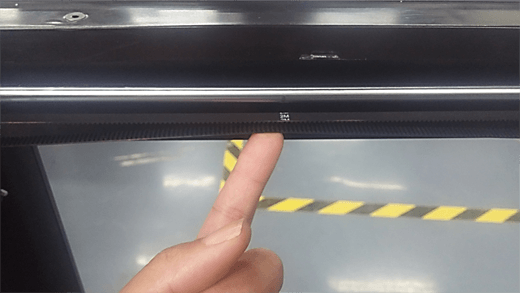
5. Press the adjusted belt with your finger to check if the tension of this belt is similar to the opposite side.
If the belt is still too loose or tight, return to step 3.
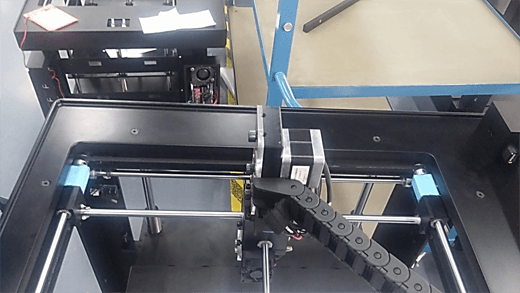
6. Place the printed fixtures onto the rods.
-If you are adjusting X axis belt, please place them at the right side of the printer head (as shown in image 6.1).
-If you are adjusting Y axis belt, please put them along the front side of the printer (as shown in image 6.2).
Make sure there are no gaps between sliding block, fixture and pulley.
7. Tighten the grub screws on the pulleys. 4 in total.
[ Manual N2&N2 Plus - Belt Adjustment - V1.0 ]
-END-
Inquiry@raise3d.com
+1 888 963 9028