
[ Manual N2&N2 Plus - How to Update Heating Plate from 9 Point to 13 Point- V1.0 ]
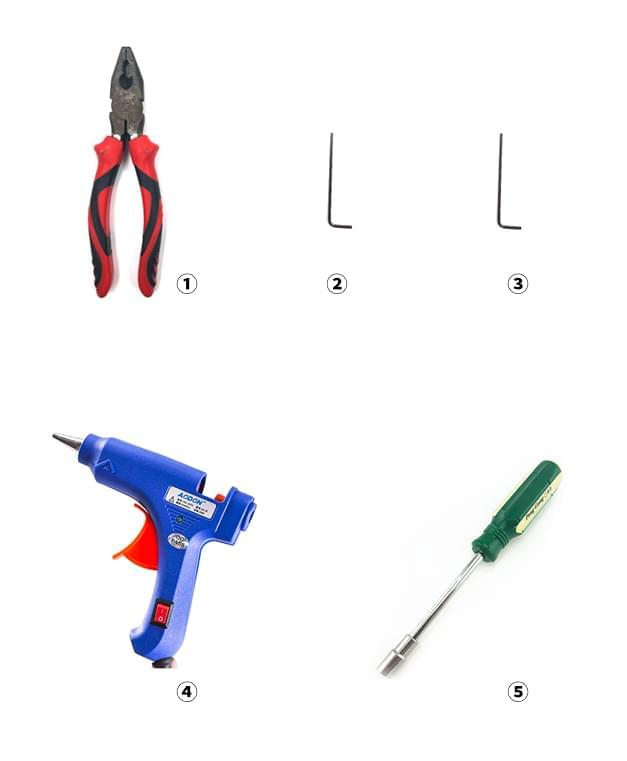
① Pliers
② 2mm Hex Wrench
③ 5.5mm Hex Wrench
④ Hot Glue Gun
⑤ Socket Wrench
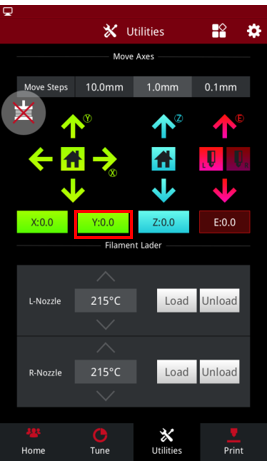
1. Press the Z home button. Once bed completely homes, press Z value button in Utilities page and set the height to be 20mm.
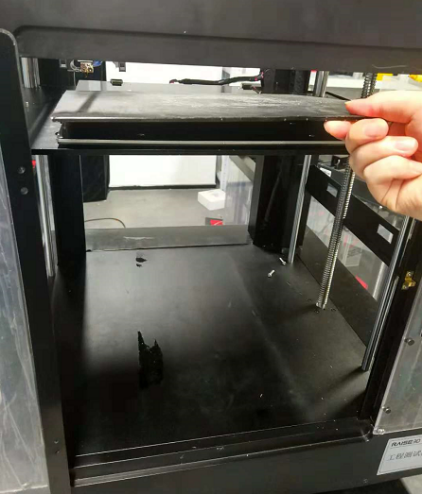
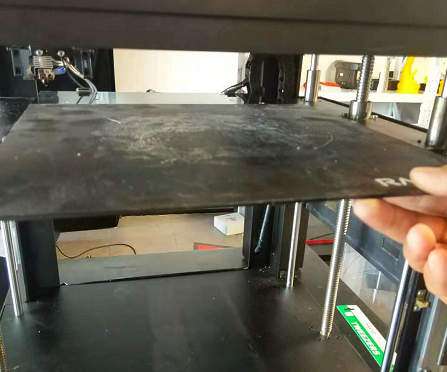
2. Turn off the power and unplug machine. Open the front door and remove the build plate.
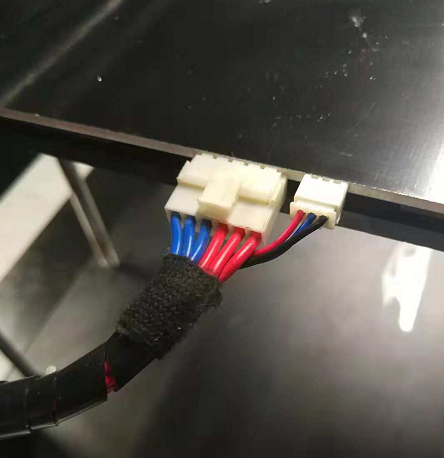
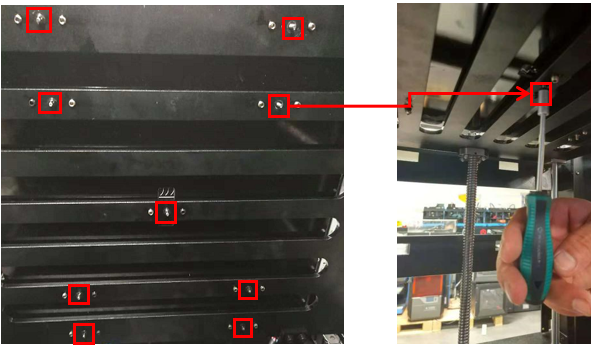
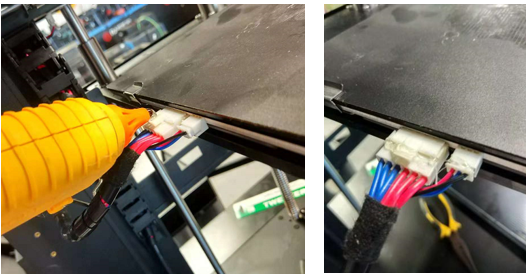
3. Carefully unplug the heating bed wires behind the heating bed.
( Note: If the wire connectors are covered by glue, remove glue with tweezers or side cutters. )
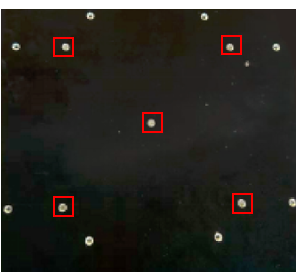
4. Use 5.5mm socket wrench to remove the 9 nuts under the Z platform and take out the nine bosses heating plate.
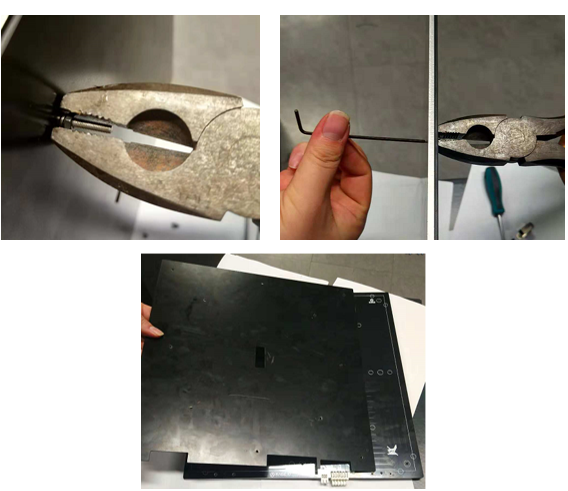
5. Use pliers to hold the nuts under the screws and 2mm hex wrench to loosen the screws and remove them. Loosen the 9 screws on heating bed with 2mm hex wrench with pliers holding nuts at the other side of the bed to take insulation plate and heating bed apart.( * For best results assistance of 2nd person recommended.)
6. Use a 2mm hex wrench to remove the four M3 screws on the clamps.
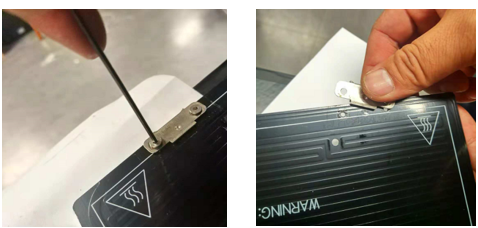
7. Remove the insulation spacer on the plate.
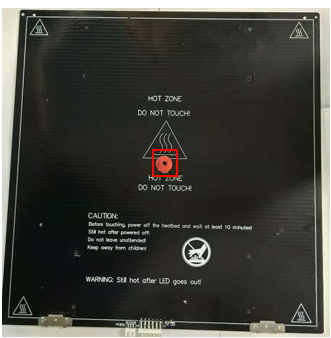
8. Flip the new heating bed to have back side up.
9. Place the insulation spacer to the center of the heating plate and install the new heating plate (with 13 holes) and the old insulation plate with 5 screws in positions marked below. Then install both clamps.

10. Align the plate to match the screw holes on the Z platform. Tighten the five screws installed in last step to attach on Z platform.

11. Plug the cables into the new bed.

12. Apply hot glue with glue gun onto the connectors to secure them.
13. Install the build plate.
14. Lower the Z platform down to a proper position.
15. To confirm bed is leveled be sure to read the bed leveling guide on our website: https://www.raise3d.com/pages/bed-leveling-instruction-1
[ Manual N2&N2 Plus - How to Update Heating Plate from 9 Point to 13 Point - V1.0 ]
-END-
