[ Manual Pro2 Series - 001 Build Plate Installation Instruction-V1.0 ]
1. Remove original Build Plate
- Loosen the two thumb screws in front of the Build Plate with anti-clockwise rotation.
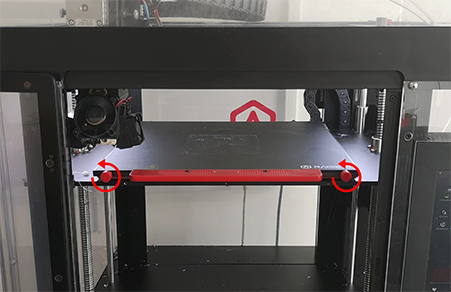
- Lift front of build plate over securing screws and slide the build plate out of the machine.
2. Install new Build Plate.
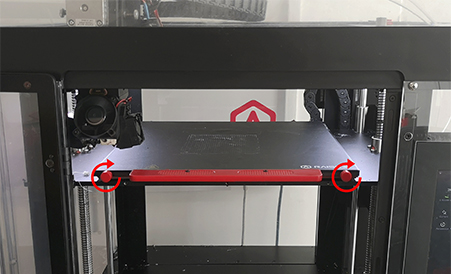
- Slide the new Build Plate onto the Z platform. Face the surface with Raise3D logo up.

- Tighten the thumb screws to starting a print.
[ Manual Pro2 Series - 001 Build Plate Installation Instruction-V1.0 ]
-END-

