
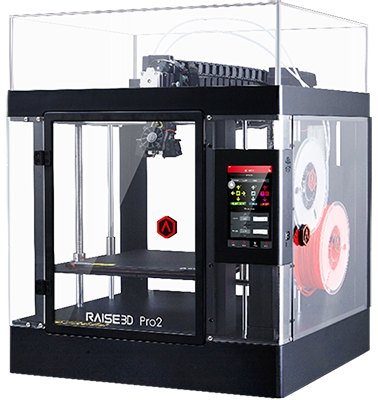
[ Manual Pro2 Series - 021 Extruder Side Cooling Fan Installation Instruction-V1.0 ]
* The steps of replacing both sides of cooling fans are similar with each other. Here we use the right side as reference.
1. Preparation
Unload the filament from both nozzles.
Turn off the printer after filament being removed.
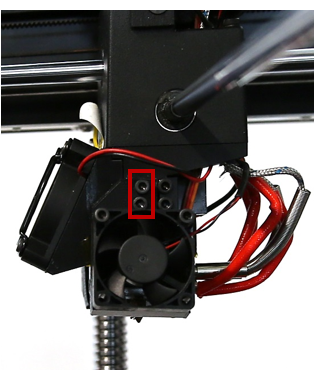
2. Remove Fan Duct
Remove the screws marked in the picture below and take the Cooling Fan off with Fan Duct.
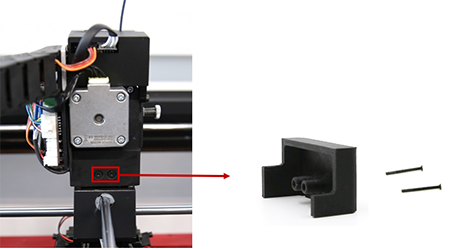
Remove the screws marked in the picture below and take the Fan Duct off.

3. Preparation for Wiring
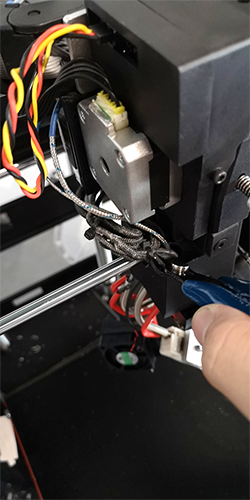
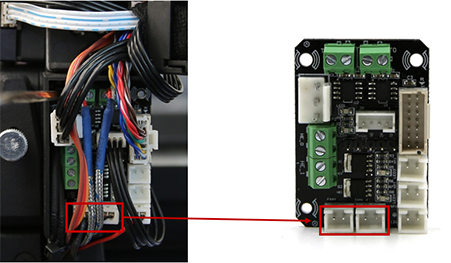
Unplug the cable of Side Cooling Fan from extruder board.
* The left terminal on board is used to control Right Fan, right terminal is used to control left fan.

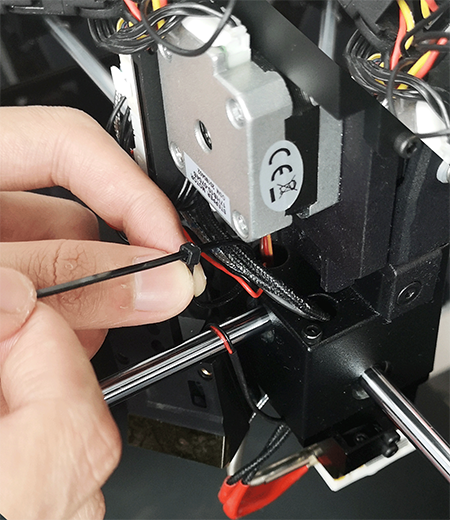
Cut the zip ties fixing cables and take out the fan cables.
4. Install the new Fan
Replace a new Fan.

* Make sure that the surface of fan with tags is facing support.
Install the New Fan and the Fan Duct back onto the printer.

Grab the connector of the new Fan by tweezers out from the top to help it go through the Mounting Block.

Plug the side fan cable onto the terminal where you unplug the old cable.
5. Final
Bind the cables together with zip ties and fix the casing back to cover the cables.
[ Manual Pro2 Series - 021 Extruder Side Cooling Fan Installation Instruction-V1.0 ]
-END-
