
[ Manual Pro2 Series - 040 Replace Right Rod-V1.0 ]
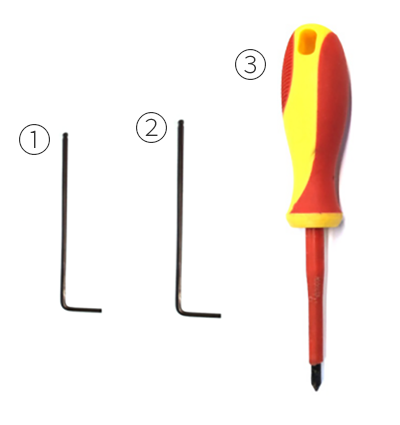
① 2.5mm wrench
② 2mm wrench
③ Philips head screw driver
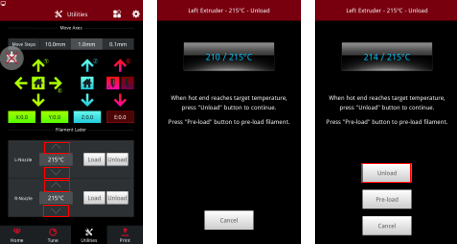
1. Unload filament
2. Power off.
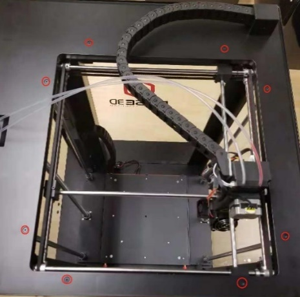
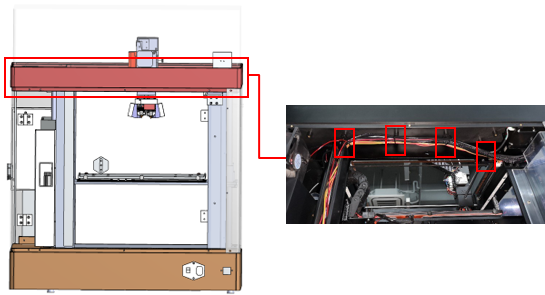
3. Remove the 8 screws on top shroud with 2.5mm hex wrench.
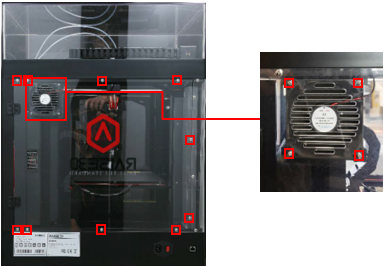
4. Remove the screws on the upper and lower edges of plastic covers with Philips screwdriver and uninstall the Air filter Fan at the same time. (Note: some models may require unplugging the air filter fan).
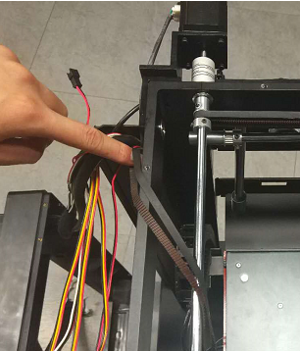
5. Cut the ties holding the harness at the lower side of top shroud.
6. Lift the top shroud up manually.
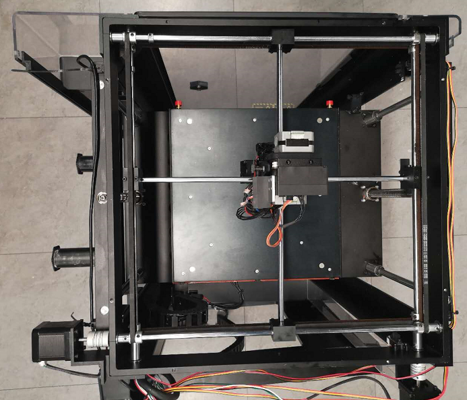
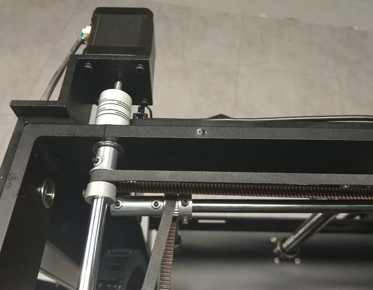
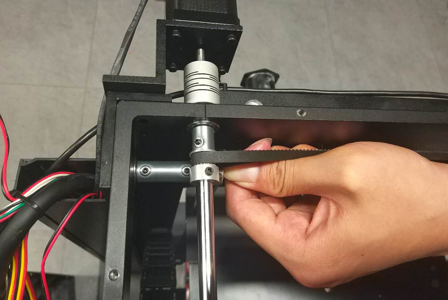
7. Loosen the grub screws, Limit Position Collet and Pulley with 1.5mm and 2.0mm hex wrench.
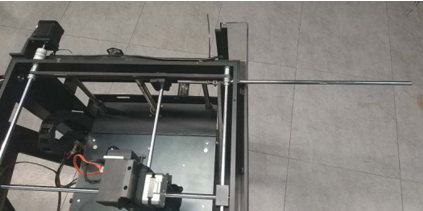
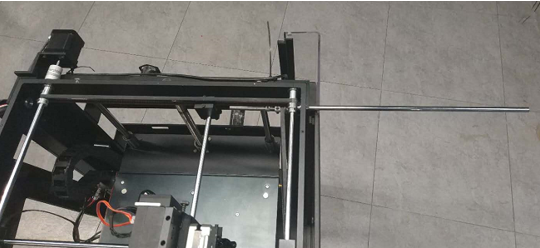
8. Pull the rod out from right side of printer.
Note: Carefully set aside the Pulley, Limit Position Collet and Bearings when taking the left rod out.
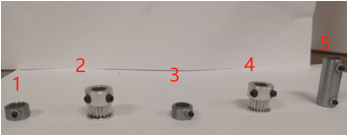
9. Put the Bearing, Pulley and Limit Position Collet back on the rod before it reaches the sliding block.
Note: Put the belt around the Pulley when putting the Pulley onto the Rod.
10. Push the rod through the sliding block. Reinstall the other Pulley, Limit Position Collet, Bearing back on Rod.
Note: Put the belt around the Pulley as well.
11. Push the rod into hole in frame as far as possible.

12. Move each Pulley to their ends of the rod.
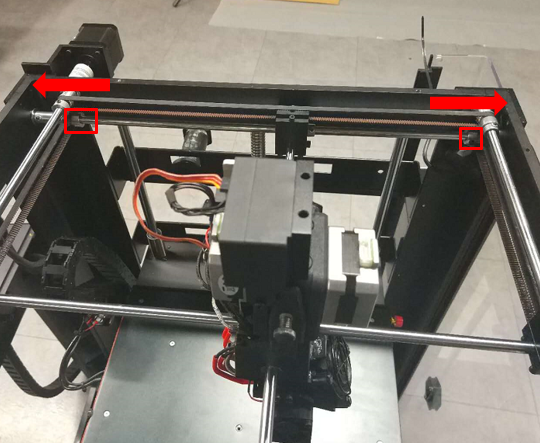
13. Hold the Pulley firmly in place and tighten the screws on the Limit Position Collet.
14. Verify the rod is held firmly in place.
If firm install is complete.
If there is any movement loosen the screws on Pulley and repeat Steps 12 thru 14.
[ Manual Pro2 Series - 040 Replace Right Rod-V1.0 ]
-END-
