
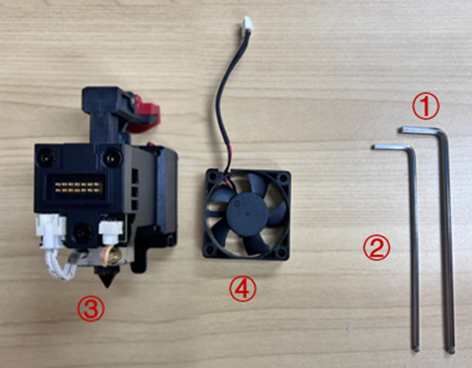
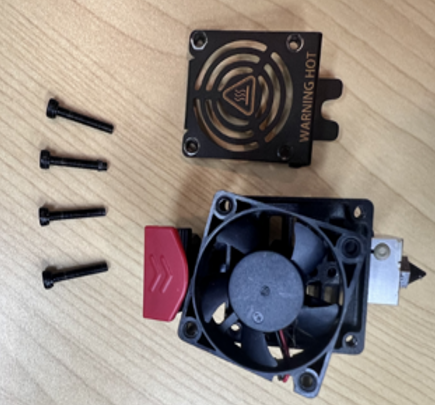
Tools:
① 2.5 mm hex wrench
② 2 mm hex wrench
Components:
③ Interchangeable Hot End Assembly
④ Extruder Front Cooling Fan for replacement
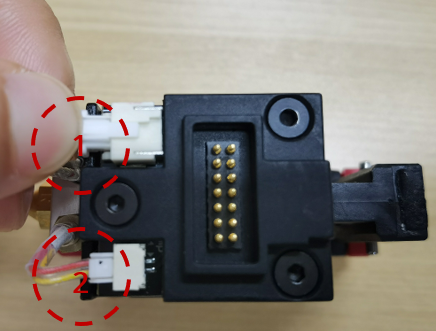
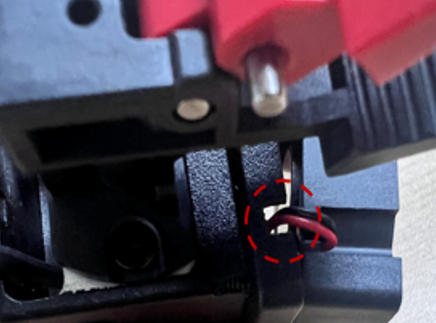
1. Gently depress the connectors for the heater rod (1) cable and the temperature sensor (2) cable respectively to remove them from the slots.
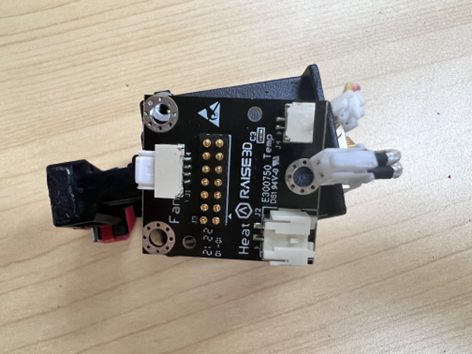
2. Using a 2 mm hex wrench unscrew the three screws (as shown below) to remove the hot end PCB cover.
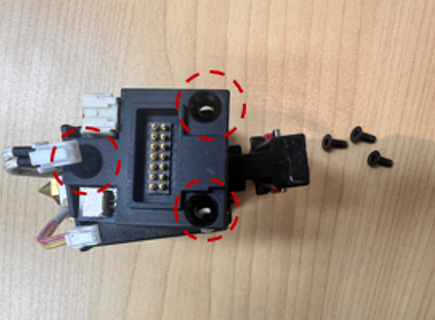
Note: Beneath the PCB cover should be three washers positioned at each screw pass-through hole on the PCB itself. It is important to reinstall all three washers at reassembly.
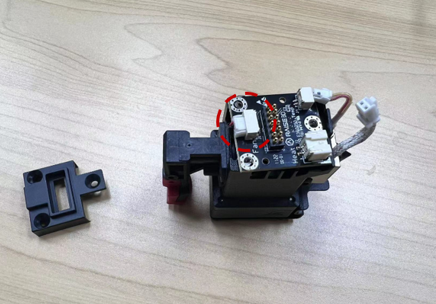
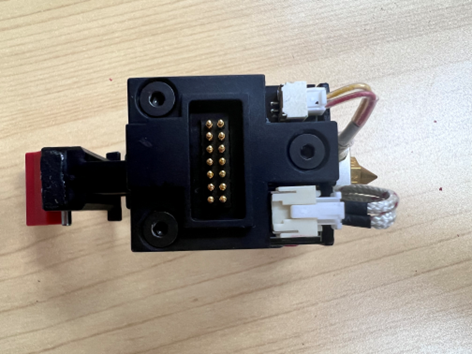
3. Gently depress the fan connector, pull the cables out and remove the hot end board.
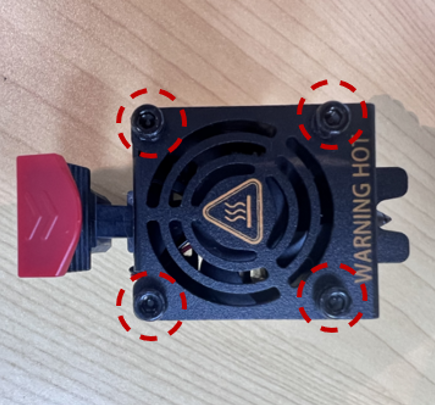
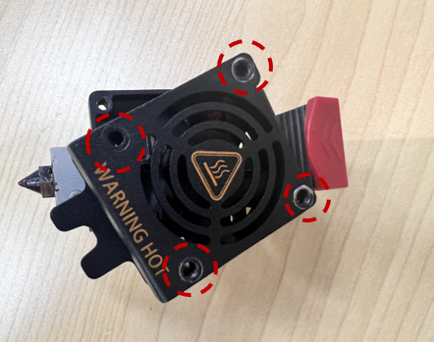
4. Turn over the interchangeable hot end assembly, unscrew the screws at the four corners (as shown below) with the 2.5 mm hex wrench and remove the extruder front cooling fan cover.
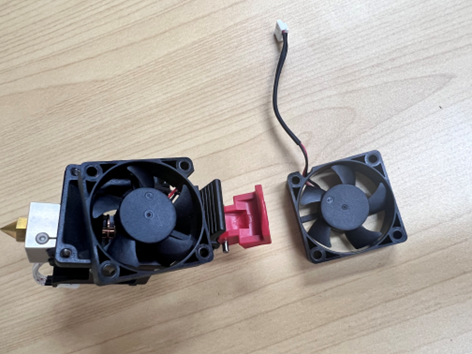
5. It is necessary to carefully swap the current extruder front cooling fan with the replacement one.
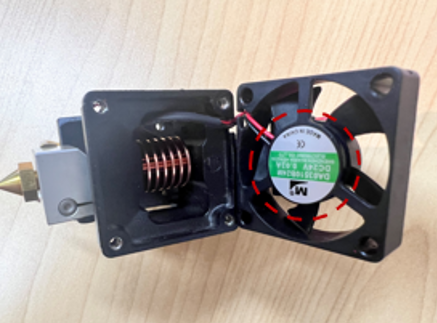
Note: As shown in the picture below, the side with a logo on the fan faces inward. The cables should be placed in the groove to avoid being damaged.
6. After finishing the replacement, put the fan cover back and tighten screws with the 2.5mm hex wrench.
7. Turn over the interchangeable hot end assembly, reinstall the hot end board and plug the fan connection cable back into the connector as marked in the red circle in step 3.
8. Reinstall the hot end PCB cover and then tighten the screws with a 2 mm hex wrench.
Note: Beneath the PCB cover should be three washers positioned at each screw pass-through hole on the PCB itself. It is important to reinstall all three washers at reassembly.

9. Re-connect the temperature sensor and heater rod cables.
10. The replacement is complete.
[15.115-EN.2.0.20231229-Pro3 Series-How to Replace the Extruder Front Cooling Fan]
-END-
