
Tools:
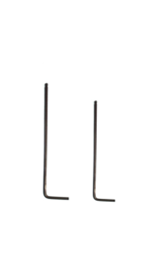
①2mm hex wrench
②2.5mm hex wrench
A. Unload the filament, unplug the filament tube from the quick connector, and remove the spool
Before replacing the filament run-out sensor seat, firstly, you need to unload the filament and unplug the filament tube on the quick connector. Here, we take the filaments in the left extruder and unload the left filament tube from the quick connector as an example.
When you are ready to unload the filament, make sure you have paused or completed the printing task.
1. Select the “Utilities” tab on the screen.
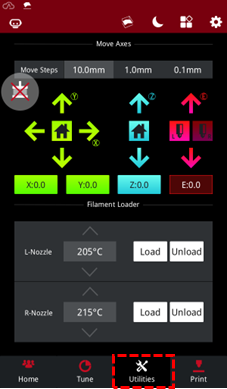
Figure 1 Enter the “Utilities” tab.
2. Set the temperature of the nozzle to the proper loading temperature. For example, the Raise3D PLA default loading temperature is 215℃. In this guide, we demonstrate how to perform this procedure using the right nozzle as an example. We set the right nozzle temperature to 215℃.
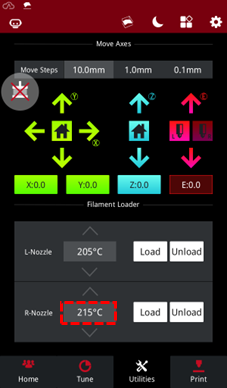
Figure 2 Set the temperature of the nozzle to the proper unloading temperature.
3. Select "Unload", and the printer will start heating. When the printer reaches the target temperature, select "Unload". The extruder will pre-extrude the remaining filament and start to withdraw the filament.

Figure 3 Unload the filament.
4. Press the quick connecter, and pull out the filament guide tube.

Figure 4 Press the quick connector, and pull out the filament guide tube.
5.Gently pull the filaments out of the extruder. After the filament is completely removed from the extruder, select "OK" on the screen to end the unloading.
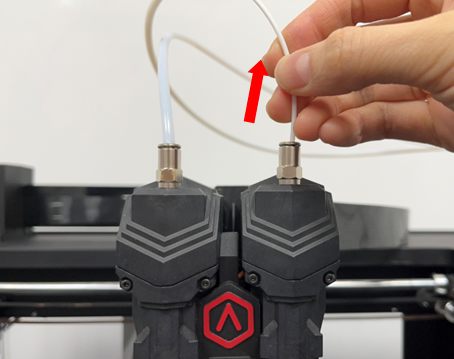
Figure 5 Gently pull out the filament from the extruder.
6. Turn off the printer and cut off the power.
Figure 6 Turn off the printer and cut off the power.
7. Press and hold the quick connector on the filament run-out sensor assembly, here, we take the left connector as an example and pull out the left filament tube.


Figure 7 Press and hold the quick connector on the filament run-out sensor seat assembly, and pull out the left filament tube.
8. Remove the spool.
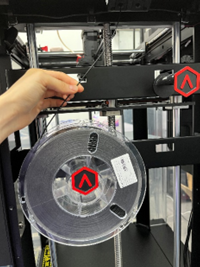
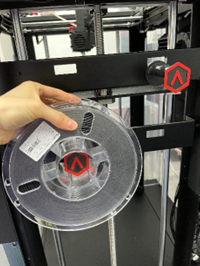

Figure 8 Remove the spool.
B. Remove the Filament Run-out Sensor Base
1. Use a 2mm wrench to remove the 1 screw that fixing the filament run-out sensor assembly.
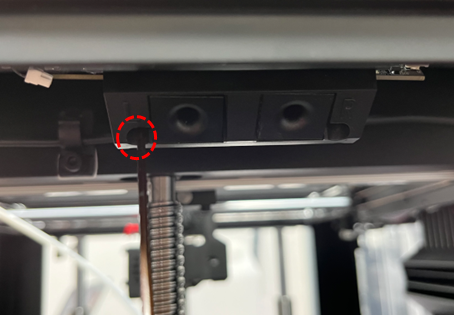
Figure 9 Use a 2mm wrench to remove the 1 screw that fixing the filament run-out sensor assembly.
2. Press and hold the buckle and unplug the cable from the filament run-out sensor assembly.
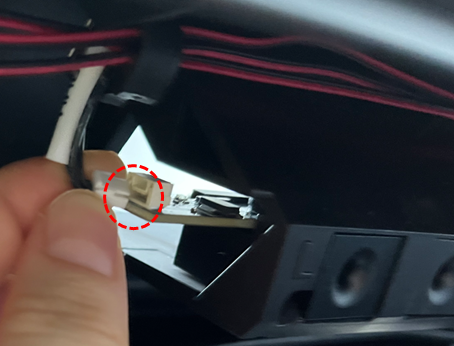

Figure 10 Press and hold the buckle and unplug the cable from the filament run-out sensor assembly.
3. Remove the filament run-out sensor assembly.
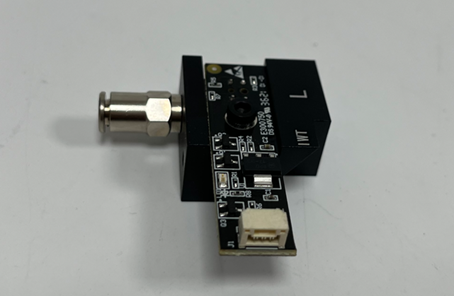
Figure 11 Remove the filament run-out sensor assembly.
4. Use a 2.5mm wrench to unscrew a screw on the assembly and take out the filament run-out sensor.

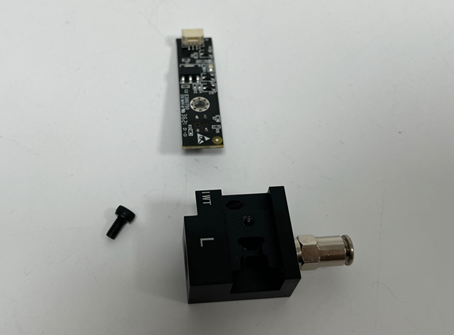

Figure 12 Use a 2.5mm wrench to unscrew a screw on the assembly and take out the filament run-out sensor.
C. Replace the new filament run-out sensor base.
1. Take the new filament run-out sensor base.
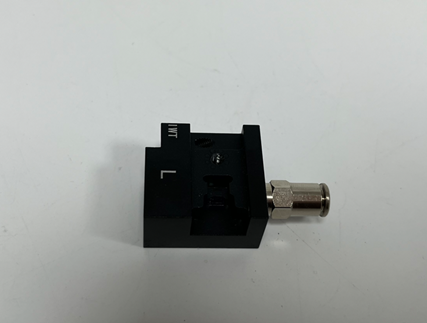
Figure 13 Take the new filament run-out sensor base.
2. Tighten 1 screw on the circuit board with a 2.5mm wrench to assemble the filament run-out sensor base.
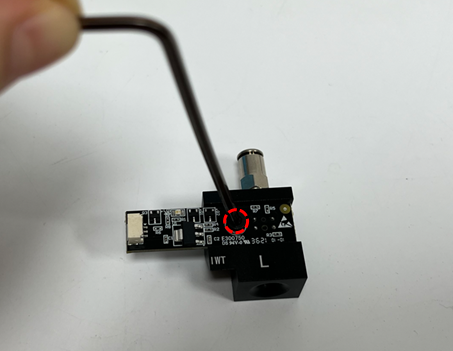
Figure 14 Tighten 1 screw on the circuit board with a 2.5mm wrench to assemble the filament run-out sensor base.
D. Check whether it runs normally after replacing the new filament run-out sensor base.
1. Find the power switch on the bottom right of the back of the printer and turn on the printer.
2. Insert and pull out the filaments, check the change of the indicator light, the light is on when the filament is pulled out, and the light is off when the filament is inserted.

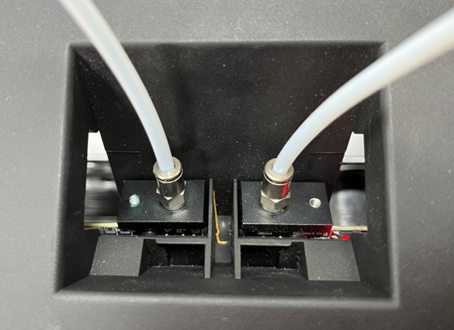
Figure 15 Insert and pull out the filaments, and check the change of the indicator light.
[ 15.080-CN.1.0.20220628- Pro3 Series- How to Replace the Filament Run-out Sensor Base]
-END-
