
Click the advanced setting icon on the camera page and enter the advanced setting page of the camera. You can choose to enable timelapse and set related settings.
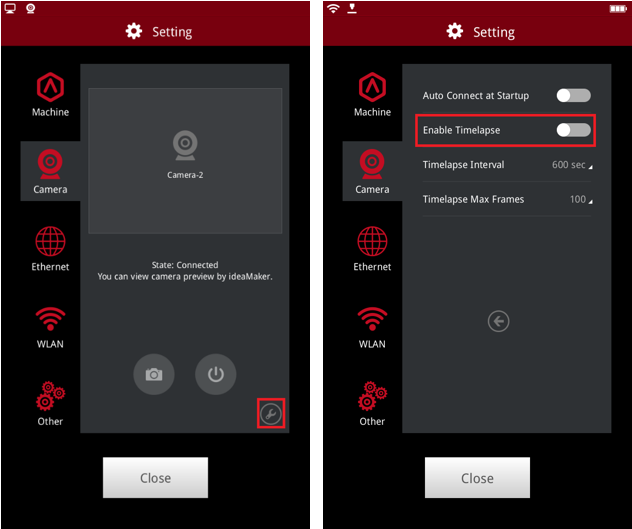
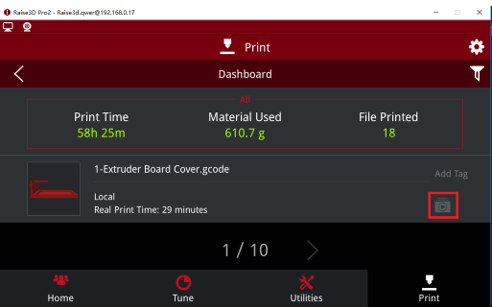
The timelapse can be viewed on the touch screen under "Print > Dashboard".

The timelapse can be viewed when ideaMaker is update to version 3.2 or upper.
Note:
1. Timelapse can be viewed only when the print is finished.
2. Make sure the Timelapse setting was turned on at the touch screen.
3. RaiseTouch and ideaMaker need to be upgraded to the latest version at the same time.
-END-
