
Click Export to Local Disk from the instant operation bar to export the sliced files to a USB disk or the local disk.
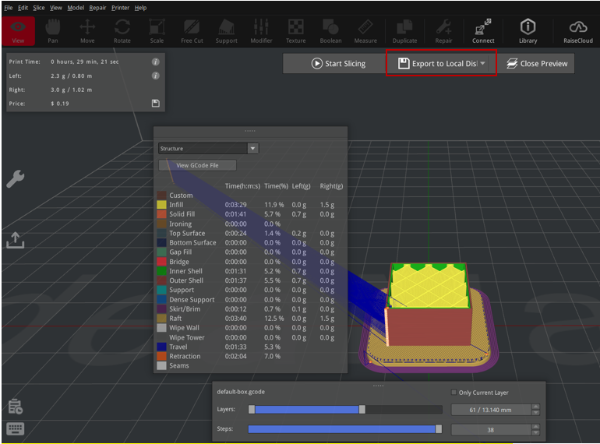
Figure 1: Export the sliced files from the main interface.
If you have enabled Confirm file exporting from Edit > Preferences > Confirm and Tips, a dialog box will pop up after you export the GCode files. Click Show in Folder to view the folder where the exported sliced files were saved. You can also click Do not ask me again to disable this dialog box when you export sliced files next time.
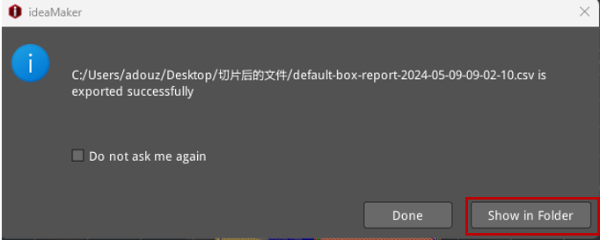
Figure 2: Show the sliced files in the folder.
You can export the sliced files directly to a USB disk or to other folders in your computer. Then copy the sliced GCode files (.Gcode file and .data file) from your computer to a USB disk.
Note: It is important to copy both files (.Gcode file and .data file).
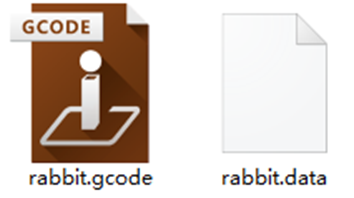
Figure 3: The .gcode file and .data file are both suitable for Raise3D printers.
Insert a USB disk into your printer and select the print file from Print > USB storage to start your first print. (Note:The following printer’s user interface is for illustration only, and please refer to your printer for actual user interface.)
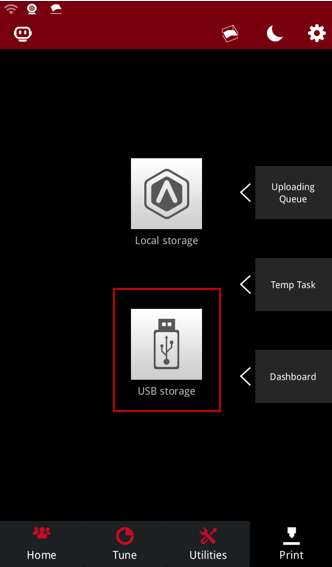
Figure 4: Select the print file from USB storage to print.
