
First, you need to make sure your printer and computer are connected to the same wireless network.
There is a small gear button at the top-right corner of the screen. Press the gear button to go to the settings page.
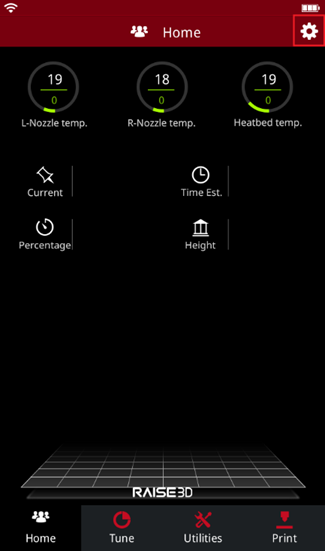
Figure 1: Press the gear button to enter the settings page.
Select WLAN tab. Enable WLAN, select your network from the list, and then input the password to connect your printer to WLAN.
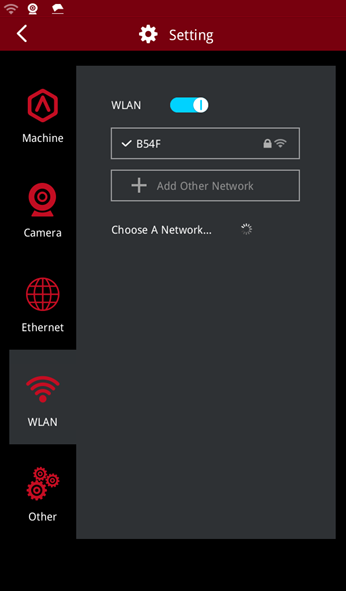
Figure 2: Connect your printer to WLAN.
Note: The above printer’s user interface is for illustration only, and please refer to your printer for actual user interface.
After connecting your printer to WLAN, we will have two options to upload the sliced .GCode files.
Option 1: Click Upload to Printer from the instant operation bar to upload the .GCode files to the printer.
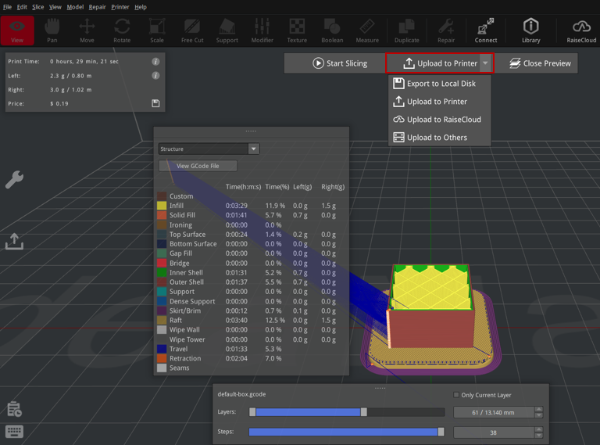
Figure 3: Upload the .GCode files to your printer from the main interface.
Option 2: Click the icon  on the left of the main interface to open the Uploading Queue panel. Click the + button or UPLOAD FILES TO LOCAL PRINTERS to upload the saved GCode files from local disk to your printer.
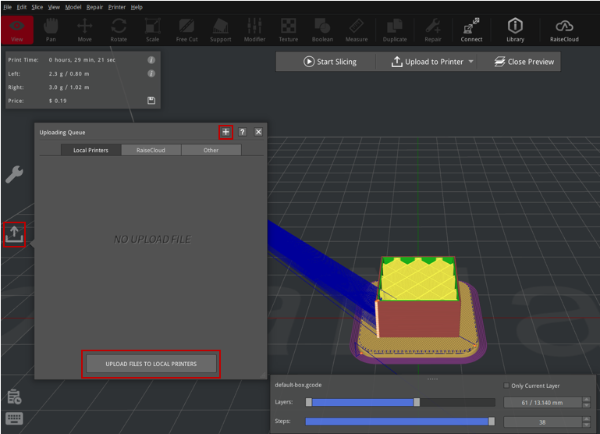
Figure 4: Upload the GCode files from the Uploading Queue panel.
Then the Upload to Printer panel will be opened. You can choose your desired printer and rename the sliced file in this panel.
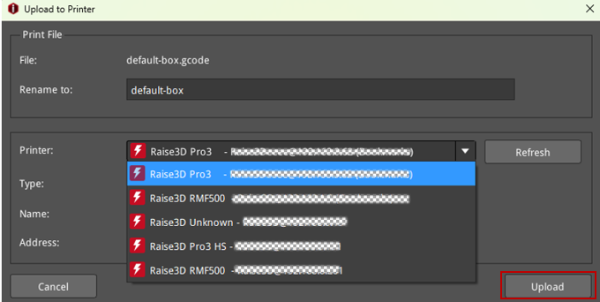
Figure 5: Choose your desired printer and click Upload.
After clicking Upload, you can view the uploading progress in the Uploading Queue panel.
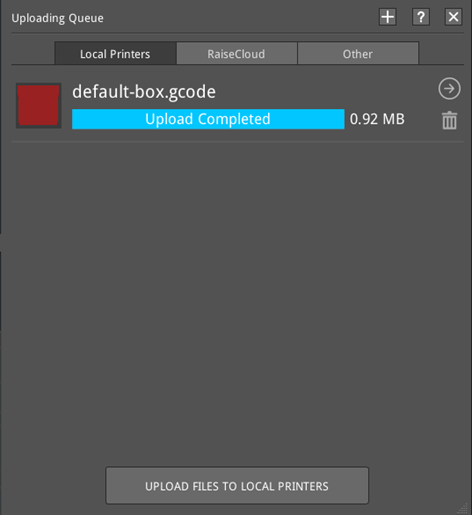
Figure 6: View the uploading progress in the Uploading Queue panel.
After uploading the GCode files, you can start printing. The GCode files uploaded to the printer via WLAN will be saved in the local storage of the printer. Select Print > Local storage from the touchscreen to start printing. (Note: The printer’s user interface is for illustration only, and please refer to your printer for actual user interface.)
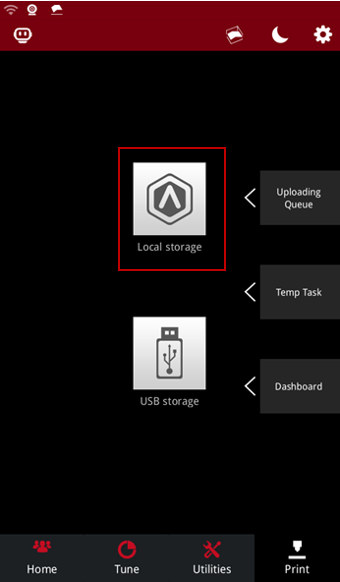
Figure 7: Select the GCode files uploaded to your printer via WLAN from Local storage to start printing.
