
You can also connect to your printer through ideaMaker remotely to start printing. From the menu bar, select Printer > Connect to Printer (Raise3D printers), or, from the tool bar, click  to open the Printer Connect panel.
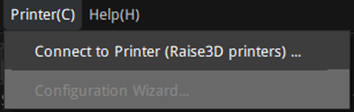
Figure 1: Select Printer > Connect to Printer (Raise3D printers).
There are two options to connect your printer.
Option 1: In the Printer Connect panel, click Scanning, and then click the icon  to refresh printers.
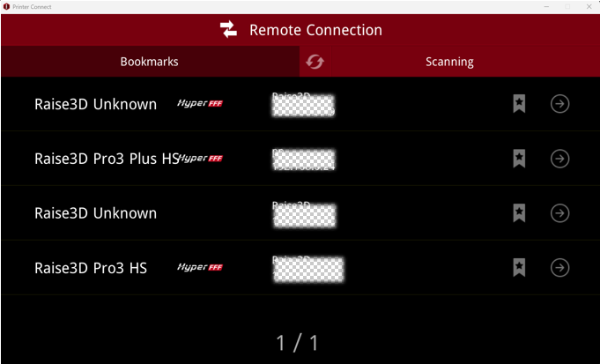
Figure 2: Scan available printers.
Select your desired printer from the scanning list, and click the corresponding arrow icon to connect to the printer.
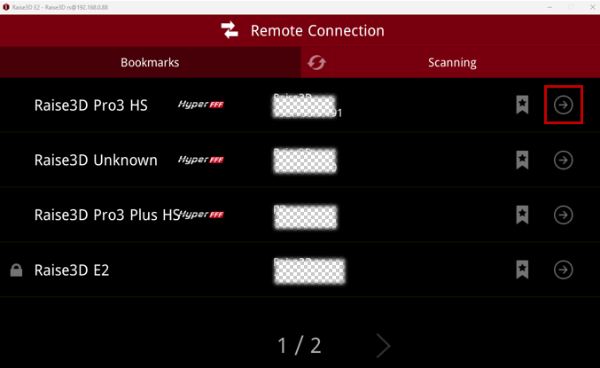
Figure 3: Select your desired printer from the scanning list and click the arrow to connect to the printer.
 : Click this icon to add the selected printer to the Bookmarks list.
 : The printer marked with Hyper FFF™ indicates that it supports the Hyper Speed feature.
 : It indicates that when you connect to this printer, you need to input a password.
Option 2: In the Printer Connect panel, click Bookmarks, and then click the + button to input your desired printer’s Serial Number and IP Address manually to add the printer to the bookmarks list.
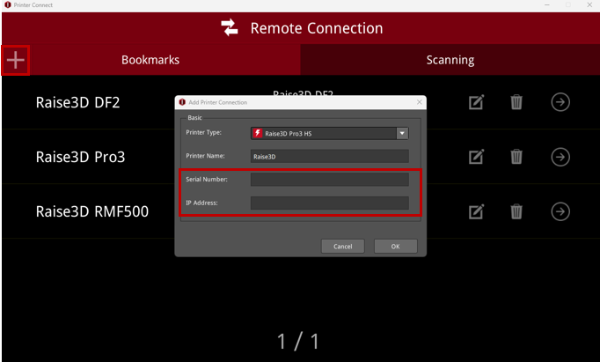
Figure 4: Manually add your desired printer to the bookmarks list.
Select your desired printer from the bookmarks list and click the corresponding arrow icon to connect to the printer.
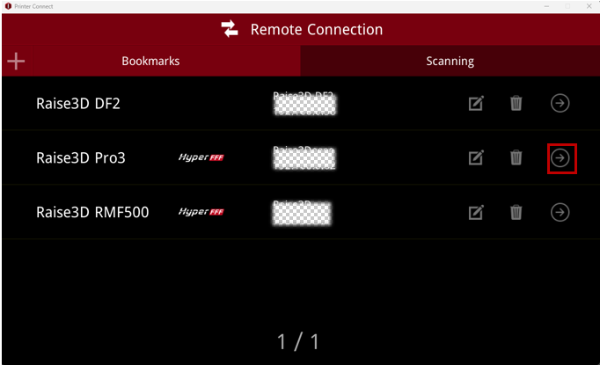
Figure 5: Select your desired printer from the bookmarks list and click the arrow to connect to the printer.
 : Edit printer settings, such as printer name, etc.
 : Remove the printer from the bookmarks list.
After clicking the arrow, wait for connection.
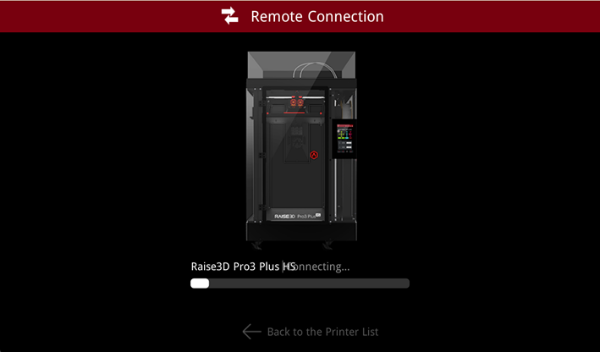
Figure 6: The printer is connecting remotely.
After connecting to the printer, ideaMaker will display the same user interface as the touchscreen on your printer, so it is possible to control the printer directly from ideaMaker. Clicking the icon  can close the page of printer user interface and return to the Printer Connect panel.

Figure 7: ideaMaker will display the user interface of the printer after connecting to the printer.
Click Print > Local storage to view the sliced files uploaded to this printer via WLAN.
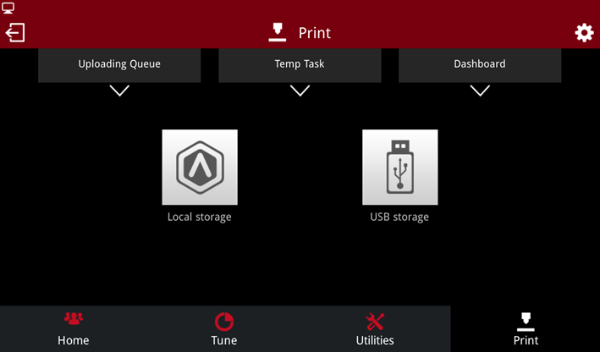
Figure 8: Click Local storage to view the sliced files uploaded to the printer.
Choose your desired sliced file, and click Print to start printing.
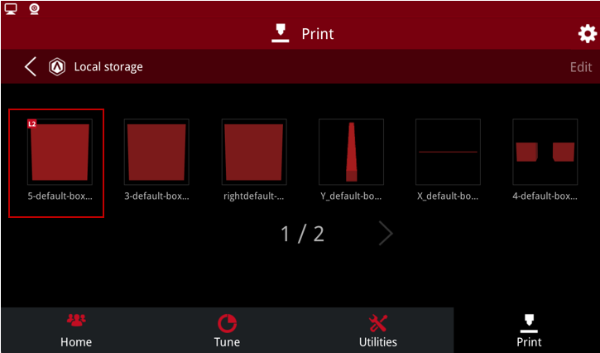
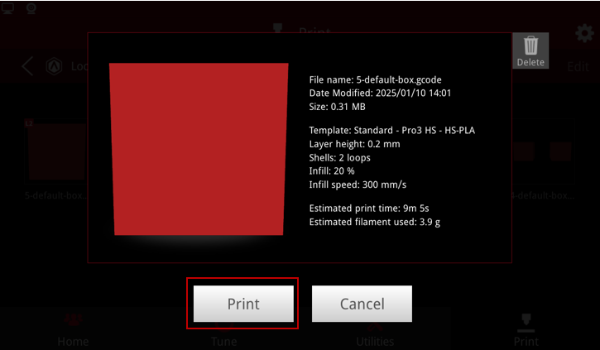
Figure 9: Choose your desired sliced file and start printing.
