
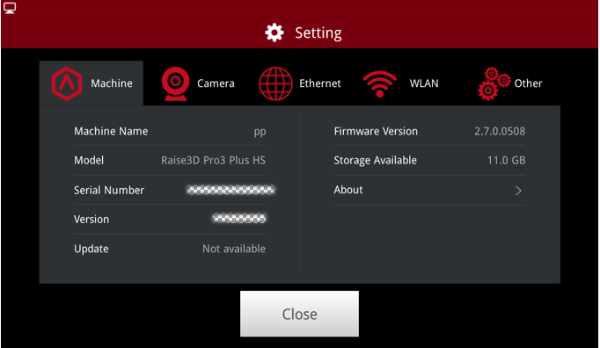
Figure 1: Settings.
 : Enters the settings interface, providing access to printer details like the serial number, firmware version, and available storage, as well as more advanced settings.
Machine Name: The name of your printer.
Model: What your type of printer is.
Serial Number: your printer’s unique identification number.
Version: refers to the version of RaiseTouch- touchscreen firmware currently used on this printer.
Update: The update information of the touchscreen firmware.
Firmware Version: The version of the motion controller board firmware.
Storage Available: The remaining memory available in the printer.
About: Feedback address and copyright.
Camera: This function is for the E2, E2CF, Pro2 series, Pro3 series, Pro3 HS series and RMF500 printers. (Raise3D N series needs to be upgraded before use).
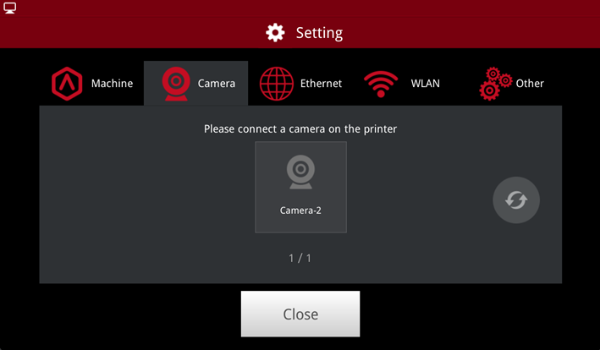
Figure 2: Camera.
Enable the camera function:
Step 1: Choose a camera that is on the printer.

Figure 3: Choose a camera.
Step 2: Connect to the camera.
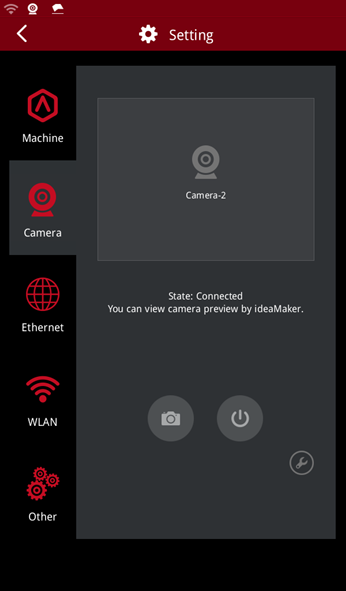
Figure 4: Connect to the camera.
Step 3: Take photos and save them to the local disk.
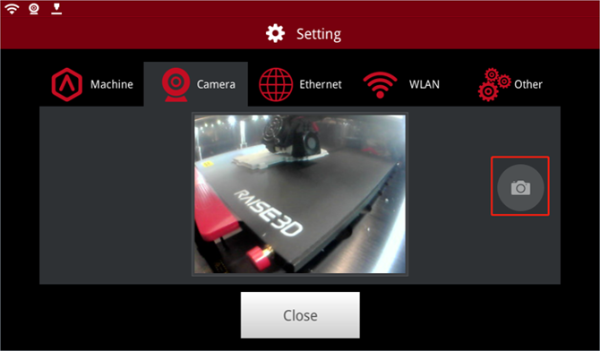
Figure 5: Take photos.
Ethernet: Contains settings when your printer is connected to your network via ethernet cable.
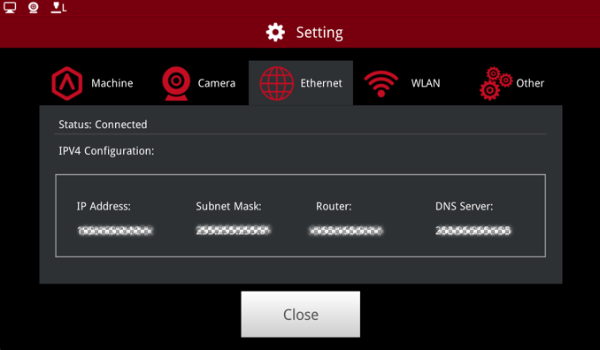
Figure 6: Ethernet.
WLAN: Connects printer and computer via WLAN.

Figure 7: WLAN.
Other:
Brightness: Shows brightness of the screen, by pressing the + or - button. (Note: the screen brightness cannot be adjusted by remote control.)
Language: Shows the chosen language applied to your printer.
Number of Nozzles: Shows the number of available nozzles on your printer.
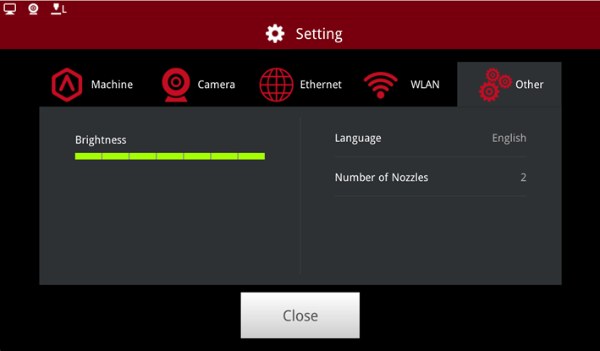
Figure 8: Other.
