
Printer Select printer.
 : Turn on this button to enable Hyper Speed Mode.
Note:For now, Hyper Speed Mode only works properly in Pro2 Series and Pro3 Series printers.
Primary Extruder refers to the selected filament type. If the Extruder Count is set at 2, the interface will show Left Extruder and Right Extruder. If you have set the Extruder Count at 1, the interface will show Primary Extruder only. The left extruder is the primary extruder by default.

OFP is Open Filament Program (OFP). It is a collaboration between Raise3D and Filament Manufacturers to identify and select top performing filaments for Raise3D printers.
With this function enabled, we can import the slice template into ideaMaker refer to Figure 1.
For example: We select the filament brand “3DXTECH” and click the "Next" button, then we can choose the printer type and the filament type refer to Figure 2.
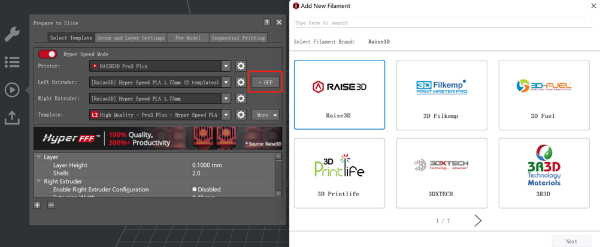
Figure 1: Add an OFP slice template.
Click "Download" button, then click "Import to ideaMaker" button, the template will be imported into ideaMaker.

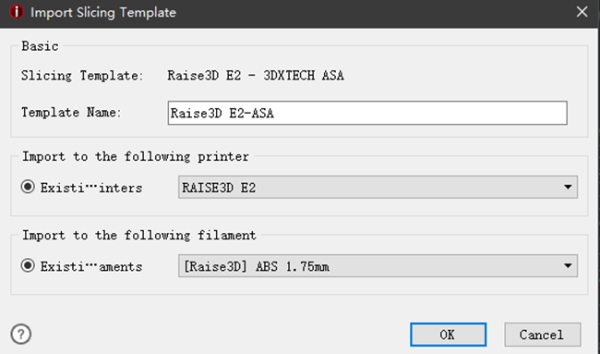
Figure 2: Import the slice template into ideaMaker.
Template refers to the selected printing settings.
 : refers to adding the settings you want to make visible and edit.
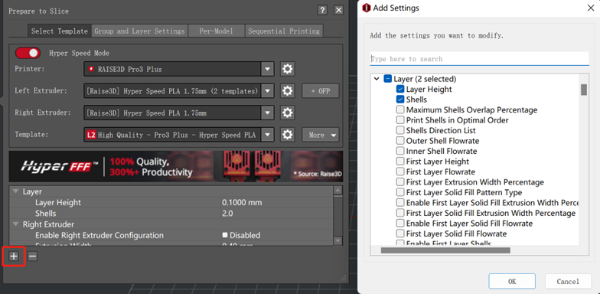
Figure 3: Add printing settings.
 : refers to hiding the selected settings.
Per-Group Setting refers the ability to divide models into several printing groups to carry out various printing settings for different models.
Per-Layer Settings allows for different slice settings at different height ranges of the model(s) in the setting group.
Additional functions can be accessed with the More button.

Figure 4: The “More” tab.
Create Template creates a new template and edit template name, printer type, filament type and template in this page.
Duplicate Template generates a duplicate template from the selected slicing template.
Note: ideaMaker will name the duplicate template as New Template 1 automatically, and can be renamed.
Compare Template refers to comparing selected templates. You can choose different printer, filament and template. And you also can import the templates from local disk.
Delete Template refers to removing selected template.
Note: Delete function only works for the template which was added by Create, Duplicate or Import. Default templates cannot be deleted.
Import from Local Disk refers to importing a slice template (.bin or .data file) from your computer.
Import from ideaMaker Library refers to importing a slice template (.bin or .data file) from ideaMaker Library.
Export refers to exporting one selected template from ideaMaker to your computer.
When export a slicing template, ideaMaker will ask if you want to export the group and layer settings together as shown in Figure 5.
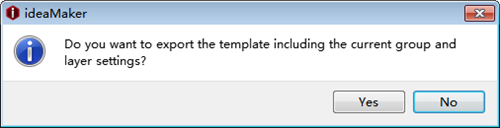
Figure 5: Export the slicing template.
Share to ideaMaker Library refers to share the template from ideaMaker to ideaMaker Library.
Step 1: Click the button of Share to ideaMaker Library to post the slice template as Figure 6. And it will jump to ideaMaker Library website directly as Figure 7.

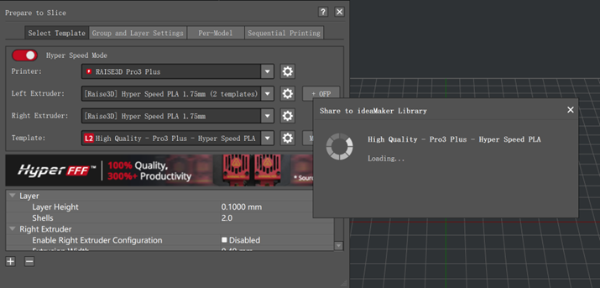
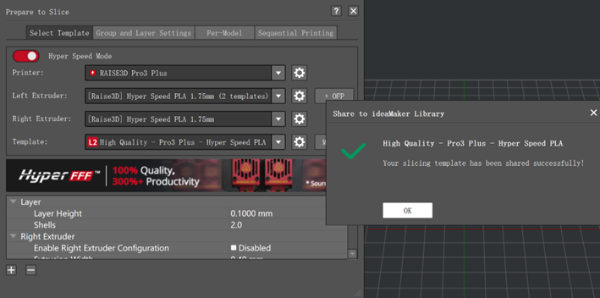
Figure 6: Share to ideaMaker Library.
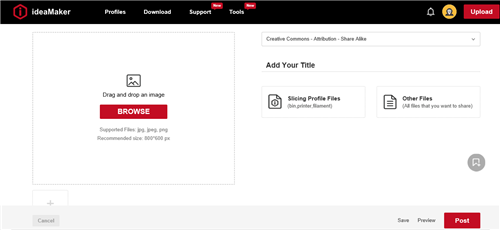
Figure 7: ideaMaker Library.
Save refers to saving current settings.
Restore Defaults refers to rolling back to original settings.
Restore to the Last Saved refers to rolling back to last saved setting.
Manage Templates refers to editing the slicing template even without importing a model.
Note: For the Raise3D E2 printer it will show three options in Print Mode: Normal, Duplication and Mirror.
Normal refers to common printing mode.
Duplication means that the print model printed with the left extruder is the same thing as what the right extruder printed.
Mirror indicates that the model printed by right extruder will be the mirror image of the model printed by the left extruder.
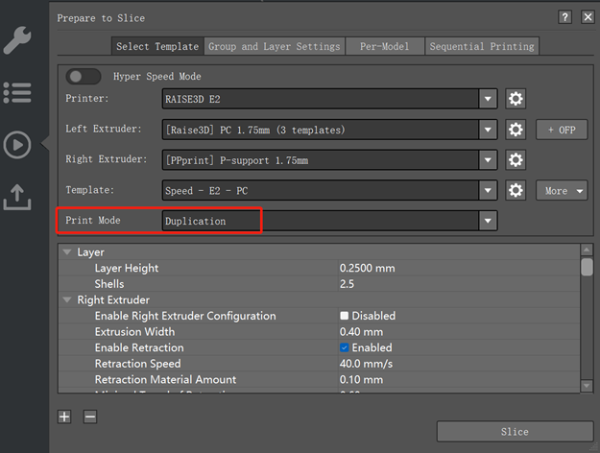
Figure 8: Print Mode.
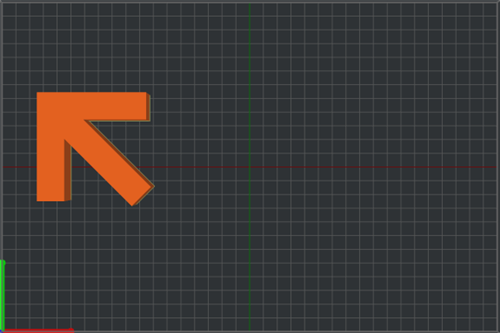
Figure 9: Model in Normal Mode.
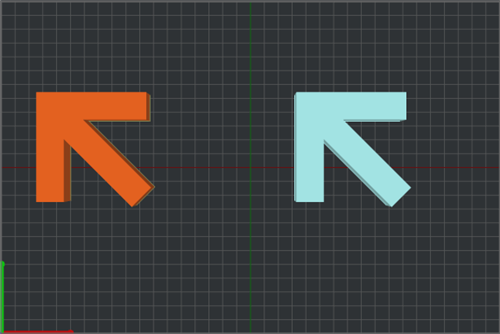
Figure 10: Models in Duplication Mode.
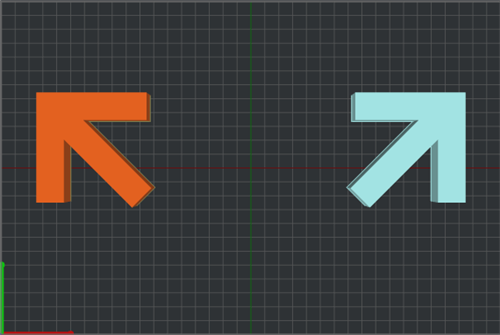
Figure 11: Models in Mirror Mode.
-END-
