
Replacing the printing surface on the Rasie3D E2CF 3D printers is a straightforward process. The three main steps to replacing the printing surface on the E2CF 3D printers involve removing the flexible plate, cleaning the printing surface, and reinstalling the flexible plate. Raise3D generally recommends replacing the build surface every 3 months. However, the replacement depends on how heavily it is used.
Tools:
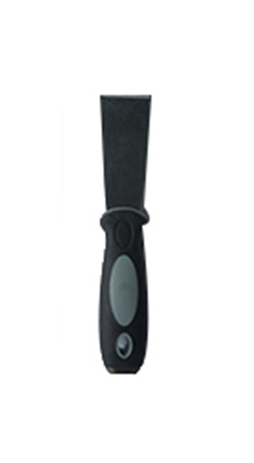
①Scraper
1. Wait until the build bed cools to room temperature after printing is completed. Remove the flexible plate from the printer by holding the red handle and placing it gently on a flat workplace.
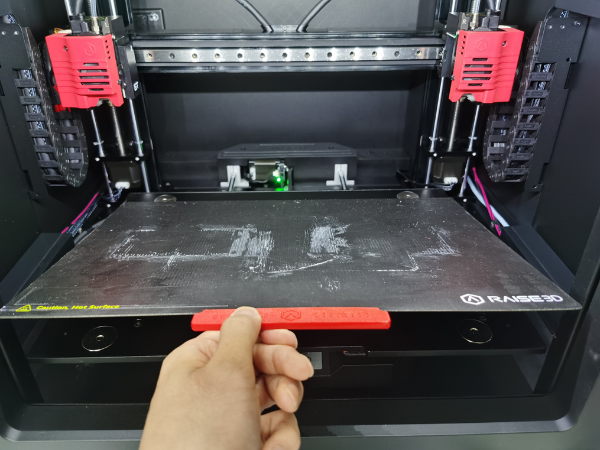
Figure 1 Remove flexible plate
2. Use one hand to securely press and hold the flexible plate. Use the other hand to peel back the used Raise3D printing surface from the plate.
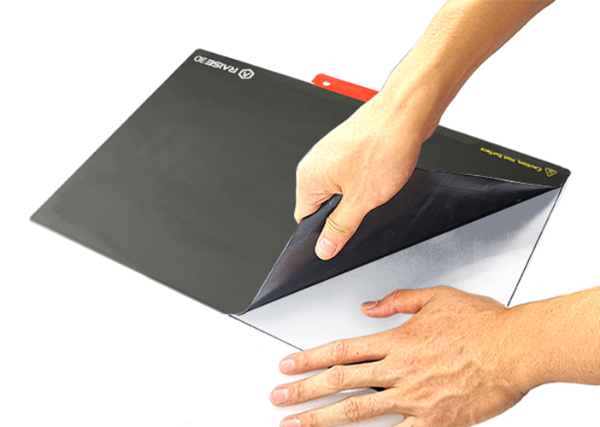
Figure 2 Tear off BuildTak printing surface
1. After removing the build surface, check for any remaining glue on the build plate. In this case, it is suggested to spread Ethanol on the glue and wait for a while. Then scrape it off with the spatula.
Note:
a. If it is hard to scrape the glue with a spatula, please reinstall the plate to the print bed and set the bed heating temperature to 110℃. Wait for 30 minutes and try using the spatula again.
b. Make sure to install the flexible plate when it is completely dry. A wet plate may cause the printer to short circuit.
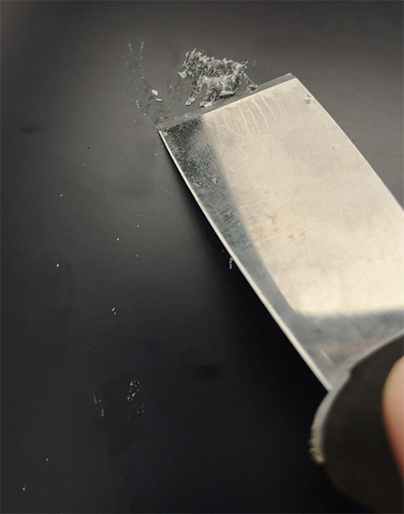
Figure 3 Scrape remaining glue on build plate by spatula
1. Prepare a brand new Raise3D E2CF BuildTak printing surface.
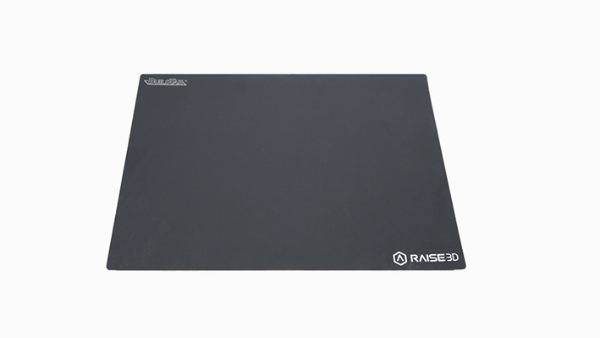
Figure 4 A brand new Raise3D E2 BuildTak Printing Surface
2. Peel off a corner of the white cover film on the backside of BuildTak. Align and attach that corner of the BuildTak to the plate by aligning their edges. Meanwhile scrape and flatten the attached surface with a tool such as a feeler gauge. Keep peeling off and scraping the surface until the entire BuildTak is attached to the plate.
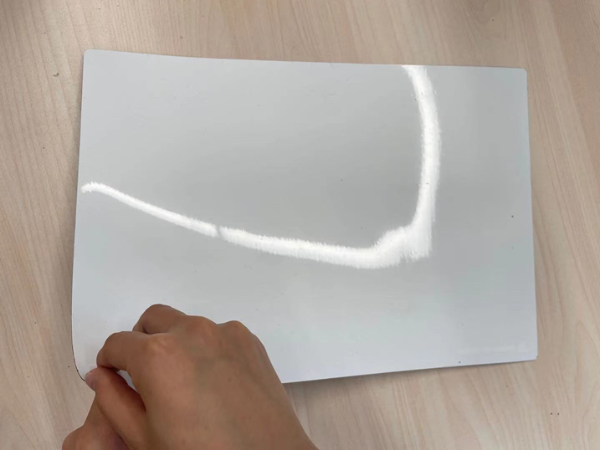
Figure 5 Peel off cover file on back side of BuildTak
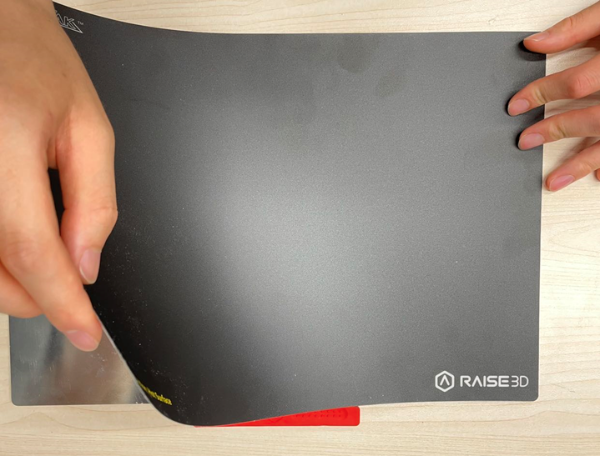
Figure 6 Keep peeling off and scraping the surface until entire BuildTak is attached on plate.
3. Reinstall the flexible plate with new a BuildTak on the print bed.
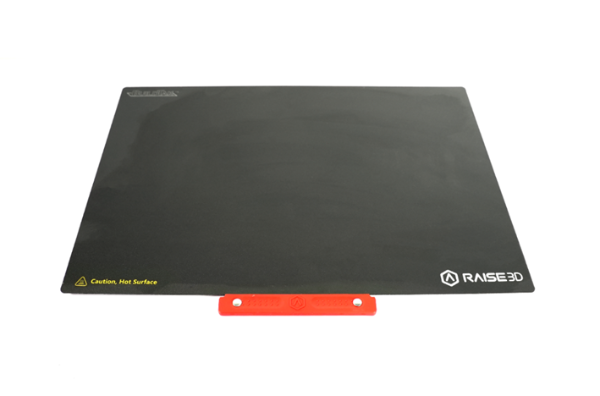
Figure7 Reinstall flexible plate with new BuildTak on the print bed
4. Calibrate leveling and flatness of the print bed. Please refer to here for guide.
[ E2CF – How to Replace a Printing Surface – V1.0 ]
-END-
