
Tool:
② 1.5mm hex wrench

1. Unload the filament from the extruder where the extruder bearings needs to be replaced. While this tutorial uses the left nozzle as an example.
1)Click "Utilities" on the screen to enter the printer control page.

Figure 1 Enter the "Utilities" page.
2)Set the temperature of the left nozzle to the proper unloading temperature. For example, the Raise3D Premium PLA filament is loaded in the left nozzle and its default loading temperature is 215℃. In our demonstration, we set the left nozzle temperature to 215℃.

Figure 2 Set the temperature of the left nozzle.
3)Click the "Unload" button, and the printer will automatically begin to heat. When the printer reaches the targeted temperature, click "Load". The extruder will pre-extrude the remaining filament in the extruder and begin to unload the filament.

Figure 3 Unload the filament.
4)Press and hold the metal quick connector on the extruder with your hand and pull the filament guide tube out of the extruder.

Figure 4 Pull out the filament guide tube.
5)Gently pull the filaments out of the extruder. When all the filament is removed from the extruder, click "OK" on the screen to end the unloading.

Figure 5 Pull out the filament.
1. Turn off the power of the printer, use a 1.5mm hex wrench to remove the 4 screws on the front cover of the extruder, and then remove the front cover.
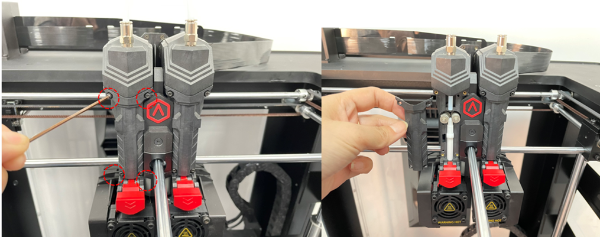
Figure 6 Remove the front cover.
2. Remove the 2 gears, the extruder bearings are at the end of the feed gears, please keep it properly.

Figure 7 Remove the gear.
1. Prepare a new extruder bearing.
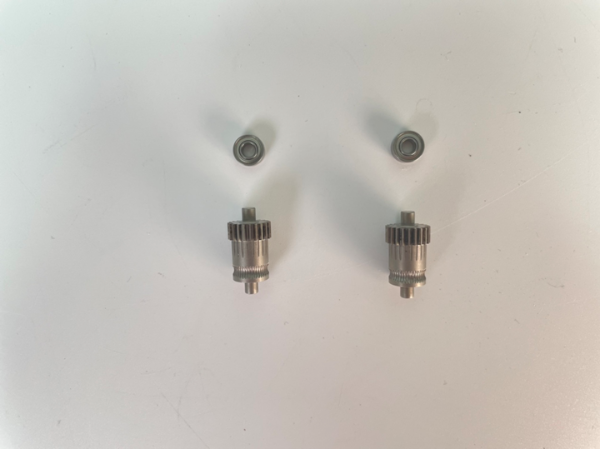
Figure 8 Prepare a new bearing.
3. Install the bearing on the end of the feed gear.
Note: The bearing should be set on the large gear end.
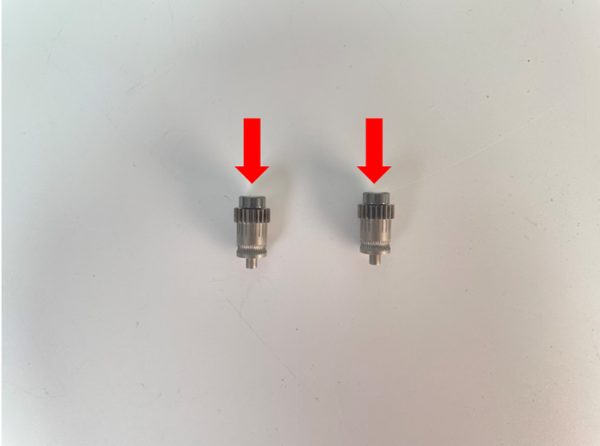
Figure 9 Install the bearing.
4. Put the feed gear back on the extruder. Check that the feed gear is in place.
Note: The large gear end faces inwards.
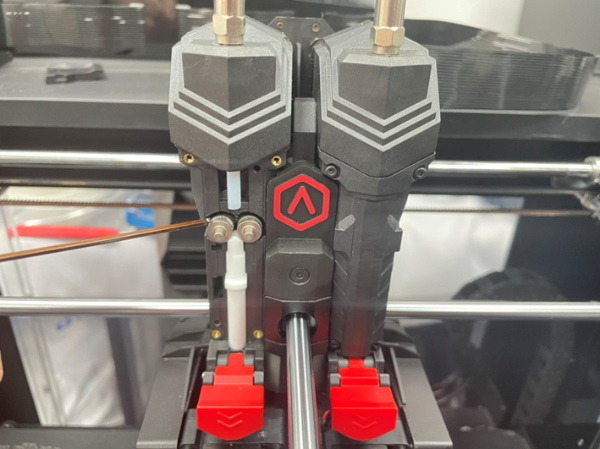
Figure 10 Install the feed gear.
5. Install the front cover. If the gears are not installed in place, the front cover cannot be installed smoothly. Then use a 1.5mm hex wrench to tighten the 4 screws on the front cover of the extruder.
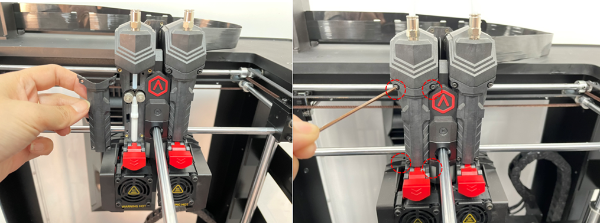
Figure 10 Install the front cover.
1. Load filament into the extruder to check whether the extruder can work normally, refer to Pro3 Series-How to Load and Unload the Filament for help. If it doesn't work properly, check to see if the parts on the extruder are installed in place, or contact the Raise3D after-sales team for support.
[15.072-EN.1.0.20220701-Pro3 Series-How to Replace the Extruder Bearing]
